您现在的位置是:首页 >技术交流 >图像处理:手写实现图像增广算法(旋转、亮度调整、裁剪与拼接)网站首页技术交流
图像处理:手写实现图像增广算法(旋转、亮度调整、裁剪与拼接)
前言
图像增广算法在计算机视觉领域扮演着至关重要的角色。随着深度学习的兴起,大规模数据集的需求变得更加迫切,而图像增广算法可以通过对原始图像进行一系列变换,扩充数据集,从而提升模型的泛化能力和鲁棒性。
本文将着重介绍图像增广算法中的三个关键方面:图像旋转、图像亮度调整以及图像裁剪与拼接。这些算法不仅能够增加训练数据的多样性,还可以帮助我们解决一些实际问题,例如旋转不变性、光照变化以及物体完整性等。
而采用了随机参数的图像增广算法可以增加数据多样性、减少过拟合、增强模型的鲁棒性,并扩充数据集规模,从而改善模型的性能和泛化能力。
基础实现
我们需要先了解一下图像增广算法的基础实现是怎么样的。
这里我们将使用一些Python优秀的第三方库来完成。在图像增广方面,有许多可供选择的第三方库,如PIL/Pillow、OpenCV、scikit-image等。而在PyTorch中也提供了一些图像增广的函数,虽然图像增广算法在PyTorch中也属于预处理的一部分,但为了方便起见,我们仍然选择使用大家较为熟悉的OpenCV库,而不使用PyTorch。
a.旋转
def Rotated_image(img, angle = 45, scale = 1.0):
    height, width = img.shape[:2]
    center = (width // 2, height // 2)
    matrix = cv2.getRotationMatrix2D(center, angle, scale) #旋转中心,旋转角度,缩放比例
    rotated_image = cv2.warpAffine(img, matrix, (width, height))
    return rotated_image
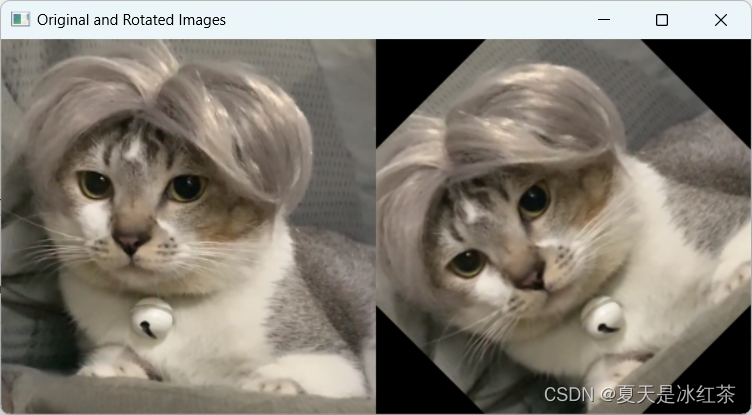
通过
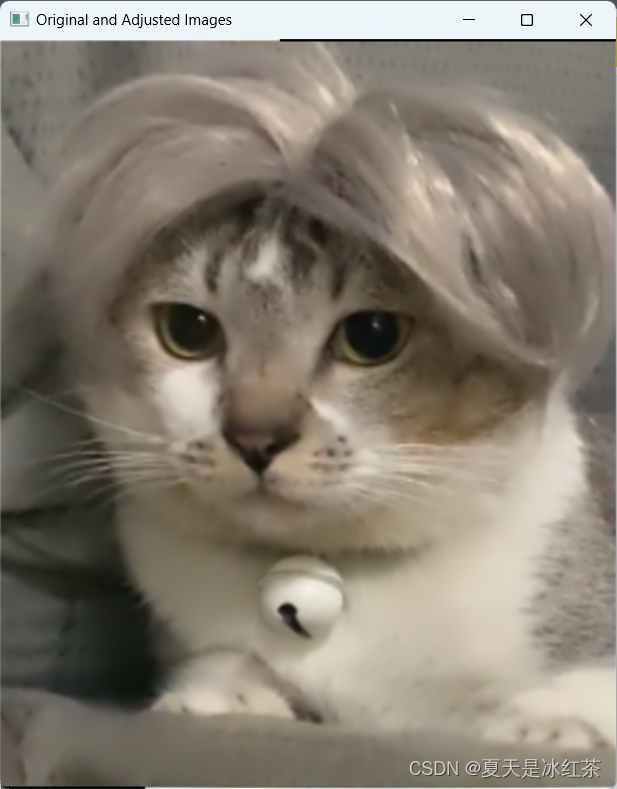
cv2.getRotationMatrix2D函数计算旋转矩阵,然后使用cv2.warpAffine函数执行旋转操作。最后,使用cv2.imshow函数显示旋转前后的图像。
实验结果:
b.亮度调整
def Adjusted_image(img,brightness_factor = 1.5):
    image_float = img.astype(np.float32)
    adjusted_image = image_float * brightness_factor
    # 将图像像素值限制在[0, 255]范围内
    adjusted_image = np.clip(adjusted_image, 0, 255)
    adjusted_image = adjusted_image.astype(np.uint8)
    return adjusted_image
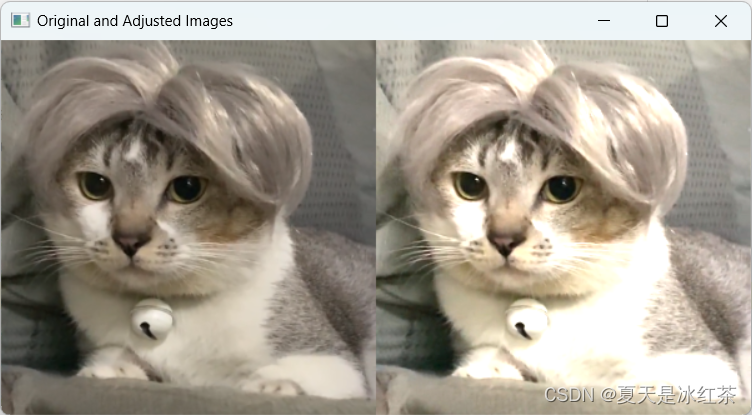
将图像转换为浮点型数据类型。然后,通过乘以一个亮度调整因子来调整图像的亮度,这里的亮度调整因子可以根据具体需求进行调整。接下来,我们使用
np.clip函数将图像像素值限制在[0, 255]范围内,避免溢出。最后,我们将图像转换回无符号8位整数类型,并显示调整后的图像。
实验结果:
c.裁剪及拼接
裁剪
def Cut_image(image, coordinate, Leath, cropImg=False ,save=False, saveFile=''):
    imageH,imageW=image.shape[:2]
    x, y = coordinate[0], coordinate[1]
    width, height = Leath[0], Leath[1]
    h, w = height, width
    if x < 0:
        x = 0
    if y < 0:
        y = 0
    if x + width > imageW:
        width = imageW - x
    if y + height > imageH:
        height = imageH - y

    cropped_image = image[y:y + height, x:x + width]
    padded_image = np.full((h, w, 3), 128, dtype=np.uint8)
    x_offset = (w - width) // 2
    y_offset = (h - height) // 2
    padded_image[y_offset:y_offset + height, x_offset:x_offset + width] = cropped_image
    if save:
        cv2.imwrite(saveFile, cropped_image)
    if cropImg:
        return cropped_image
    else:
        return padded_image
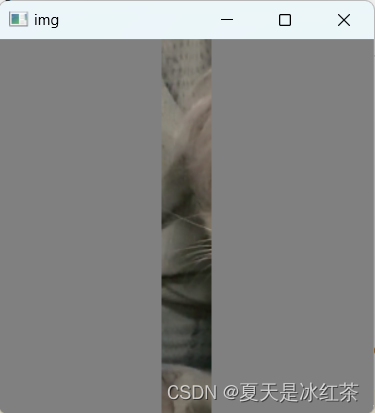
此功能为裁剪图像并用灰色填充不足的部分。添加了保存功能,默认不使用。
实验结果:
拼接
def Stitcher_image(image_paths):
    stitcher = cv2.Stitcher_create()
    images = []
    for path in image_paths:
        img = cv2.imread(path)
        if img is not None:
            images.append(img)
    if len(images) < 2:
        print('至少需要两个图像进行拼接')
        return
    (status, stitched_image) = stitcher.stitch(images)
    if status == cv2.Stitcher_OK:
        return stitched_image
    else:
        print('图像拼接失败')
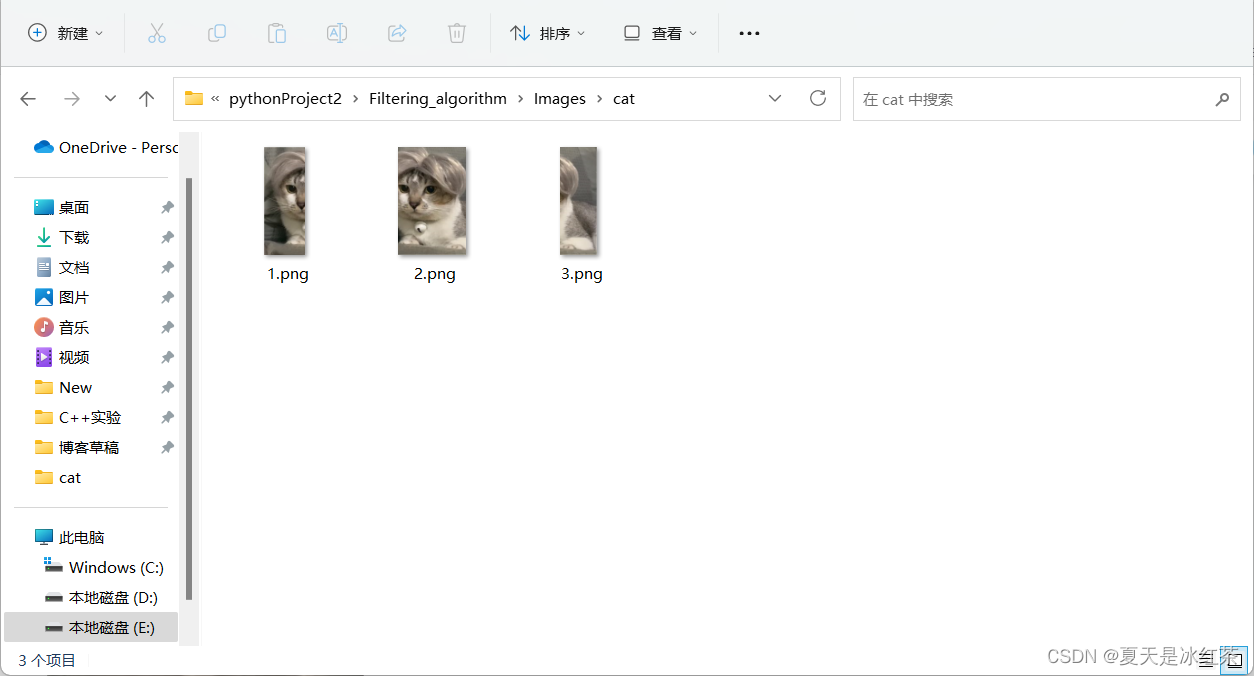
输入图片路径组成的列表,数量大于等于2才可进行拼接。下图是经过裁剪后保存的图片,原图片似乎因为较小,拼接时无法成功,经过放大再裁剪后拼接,实验成功。
实验结果:
随机调整参数
当然,上面只是简单的功能实现,现在我们需要对其添加随机参数。添加随机参数可以增加数据增强的多样性。通过在图像处理过程中引入随机性,可以使得每次处理的结果略有不同,从而扩展数据集的多样性。这对于训练深度学习模型非常有益,可以帮助模型更好地泛化和适应不同的输入。
d.随机翻转算法
介绍:通过随机选择是否对图像进行翻转,并选择翻转的方式(水平翻转或垂直翻转)来改变图像的方向或视角。
import cv2
import numpy as np
import pyps.pyzjr.utility as zjr

path = r'ImagesLeopard_cat.png'
img = cv2.imread(path)
def horizontal_flip(image, axis):
    if axis != 2:
        image = cv2.flip(image, axis)
    return image

def random_generate():
    values = [0, 1, -1, 2]
    return np.random.choice(values)

def random_flip_batch(images):
    imglist=[]
    for img in images:
        random_value = random_generate()
        image=horizontal_flip(img,random_value)
        imglist.append(image)
    return imglist

if __name__ == "__main__":
    flipped_images=random_flip_batch([img,img,img,img])
    stackimg=zjr.stackImages(1,flipped_images)
    cv2.imshow("img",stackimg)
    cv2.waitKey(0)
随机图像翻转,只进行水平和垂直两个角度。

e.随机颜色明暗调整算法
介绍:通过随机选择图像的区域进行裁剪,以改变图像的大小和内容。
import cv2
import numpy as np
import pyps.pyzjr.utility as zjr
from d2l import torch as d2l
import random

path = r'ImagesLeopard_cat.png'
img = cv2.imread(path)

def random_generate(mode):
    if mode=='flip':
        values = [0, 1, -1, 2]
        randimg=np.random.choice(values)
        return randimg
    if mode=='bright':
        bri_num = round(random.uniform(0.5, 1.5), 1)
        return bri_num

def Adjusted_image(img, brightness_factor=1.5):
    image_float = img.astype(np.float32)
    adjusted_image = image_float * brightness_factor
    adjusted_image = np.clip(adjusted_image, 0, 255)
    adjusted_image = adjusted_image.astype(np.uint8)
    return adjusted_image

def random_brightness_batch(images):
    imglist = []
    for img in images:
        random_value=random_generate("bright")
        image=Adjusted_image(img,random_value)
        imglist.append(image)
    return imglist
随机颜色明暗调整,明暗变化在0.5到1.5之间随机变化。

f.随机裁剪算法
介绍:通过随机调整图像中每个像素的颜色明暗度,以改变图像的整体色调。
import cv2
import numpy as np
import pyps.pyzjr.utility as zjr
from d2l import torch as d2l
import random

path = r'ImagesLeopard_cat.png'
img = cv2.imread(path)
def random_generate(img,mode):
    if mode=='flip':
        values = [0, 1, -1, 2]
        randimg=np.random.choice(values)
        return randimg
    elif mode=='bright':
        bri_num = round(random.uniform(0.5, 1.5), 1)
        return bri_num
    elif mode=='cut':
        scale = round(random.uniform(0.1, 1.0), 1)
        h,w=img.shape[:2]
        newH=random.randint(0, h)
        newW=random.randint(0, w)
        initPoint =[newW,newH]
        return initPoint,scale
    else:
        print("这并不是在选定规格内 This is not within the selected specifications.")

def Cut_image(image, coordinate, Leath, cropImg=False ,save=False, saveFile=''):
    imageH,imageW=image.shape[:2]
    x, y = coordinate[0], coordinate[1]
    width, height = Leath[0], Leath[1]
    h, w = height, width
    if x < 0:
        x = 0
    if y < 0:
        y = 0
    if x + width > imageW:
        width = imageW - x
    if y + height > imageH:
        height = imageH - y

    cropped_image = image[y:y + height, x:x + width]
    padded_image = np.full((h, w, 3), 128, dtype=np.uint8)
    x_offset = (w - width) // 2
    y_offset = (h - height) // 2
    padded_image[y_offset:y_offset + height, x_offset:x_offset + width] = cropped_image
    if save:
        cv2.imwrite(saveFile, cropped_image)
    if cropImg:
        return cropped_image
    else:
        return padded_image

def random_Cropping_batch(images):
    imglist = []
    for img in images:
        h, w = img.shape[:2]
        InitPoint, scale = random_generate(img, "cut")
        newH, newW = h * scale, w * scale

        image = Cut_image(img,InitPoint,[int(newH), int(newW)],cropImg=True)
        restored_image=cv2.resize(image,(w, h))
        imglist.append(restored_image)
    return imglist

if __name__ == "__main__":
    flipped_images=random_Cropping_batch([img, img, img, img])
    stackimg=zjr.stackImages(1,flipped_images)
    cv2.imshow("img",stackimg)
    cv2.waitKey(0)
随机裁剪图像,并且将原来的裁剪的图像还原为原来大小。

实验分析
实验图片:300x300,Leopard_cat.png
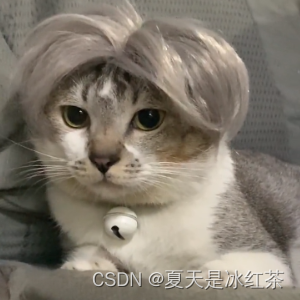
本次实验采用一张300x300大小的梅狸猫图片进行实验,并进行了图像旋转、图像亮度调整以及图像裁剪与拼接,效果均达到我的预期,在图像裁剪的过程中,因为考虑到做的是数据增广,所以添加了灰度条,保证裁剪后的图片大小与原始图片相同;拼接的图片似乎不能太小,可能会拼接失败,本实验经过图片进行放大后裁剪后拼接,实验成功。
而在后面又添加了随机调整参数,有助于丹友们对图像增广的应用的理解。
关于拼接出现黑边的分析:
在实验过程中,我们注意到拼接后的图像边缘可能会出现一些黑边。这是由于图像拼接算法的工作原理所致,它会尝试将图像进行平滑过渡,以便在拼接处产生较少的不连续性。在一些情况下,这可能会导致边缘处的像素值略微偏暗,从而形成黑边。
虽然这些黑边可能对整体图像的观感产生一些影响,但通常情况下它们并不会严重干扰图像的内容。如果你认为黑边对你的应用场景有较大影响,您可以尝试进行后处理来减轻或消除黑边的影响。如边缘增强、图像修复或边缘填充等,来改善黑边问题。
总的来说,尽管在图像拼接过程中可能会出现一些黑边,但这并不会严重影响整体的拼接结果。通过适当的后处理方法,我们可以进一步改善图像的外观,并获得更好的拼接效果。
本章小结
本章介绍了图像处理中常见的几种操作:旋转、亮度调整、裁剪、拼接等。通过使用OpenCV和NumPy库的函数,轻松地实现了。
- 首先,通过cv2.getRotationMatrix2D和cv2.warpAffine函数,我们可以指定旋转中心、旋转角度和缩放比例来旋转图像。
- 接下来,将图像转换为浮点数类型,我们可以通过乘以亮度因子并将像素值控制在0到255之间来调整图像亮度。
- 然后,通过指定裁剪区域的坐标和长度,我们可以裁剪出我们需要的图像,并使用灰色填充图像的不足部分。
- 最后,使用cv2.Stitcher_create和stitch函数,我们可以将多张图像拼接在一起,从而创建一个更大的图像。在拼接过程中,我们需要注意边缘区域可能会有黑边的问题,可以使用图像裁剪来去除。
以上这些操作是图像处理中非常基础的操作,在实际应用中也非常常见。掌握这些基础操作后,我们可以更加轻松地实现更复杂的图像处理算法。
参考文章
(3条消息) 对图像进行随机翻转和裁剪_半个夏天1314的博客-CSDN博客
说明:本章节的代码均为草稿,如果想要这一章整理好的代码,可以私信我。


 U8W/U8W-Mini使用与常见问题解决
 QT多线程的5种用法,通过使用线程解决UI主界面的耗时操作代码,防止界面卡死。...
 stm32使用HAL库配置串口中断收发数据(保姆级教程)
 分享几个国内免费的ChatGPT镜像网址(亲测有效)
 Allegro16.6差分等长设置及走线总结