您现在的位置是:首页 >技术教程 >Android studio单独导入官方例程camera-calibration网站首页技术教程
Android studio单独导入官方例程camera-calibration
1.官方例程camera-calibration
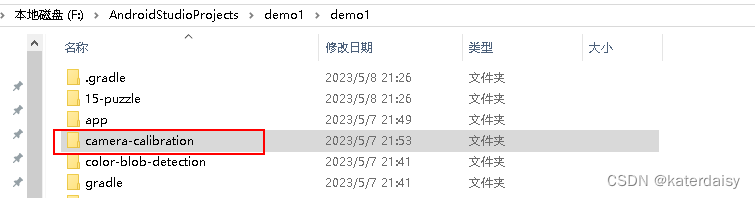
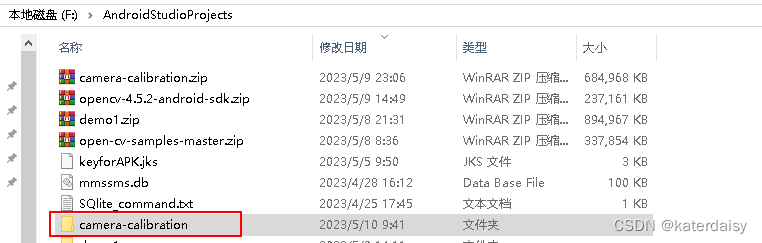
2.将官方例程camera-calibration copy到AndroidStudioProjects项目目录下
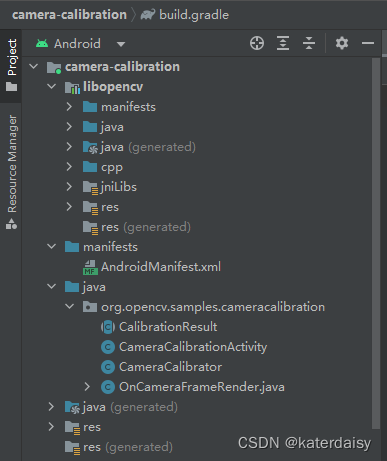
3修改AndroidManifest.xml
<?xml version="1.0" encoding="utf-8"?><manifest xmlns:android=“http://schemas.android.com/apk/res/android”
package=“org.opencv.samples.cameracalibration”
<application
    android:label="@string/app_name"
    android:icon="@drawable/icon">

    <activity android:name="CameraCalibrationActivity"
              android:label="@string/app_name"
              android:screenOrientation="landscape"
              android:configChanges="keyboardHidden|orientation">
        <intent-filter>
            <action android:name="android.intent.action.MAIN" />
            <category android:name="android.intent.category.LAUNCHER" />
        </intent-filter>
    </activity>
</application>

<supports-screens android:resizeable="true"
                  android:smallScreens="true"
                  android:normalScreens="true"
                  android:largeScreens="true"
                  android:anyDensity="true" />

<uses-permission android:name="android.permission.CAMERA"/>

<uses-feature android:name="android.hardware.camera" android:required="false"/>
<uses-feature android:name="android.hardware.camera.autofocus" android:required="false"/>
<uses-feature android:name="android.hardware.camera.front" android:required="false"/>
<uses-feature android:name="android.hardware.camera.front.autofocus" android:required="false"/>
4.将opencv sdk当作module导入,并设置依赖:
5.下面是修改Gradle的各个文件

rootProject.name = “camera-calibration”
include ‘:libopencv’
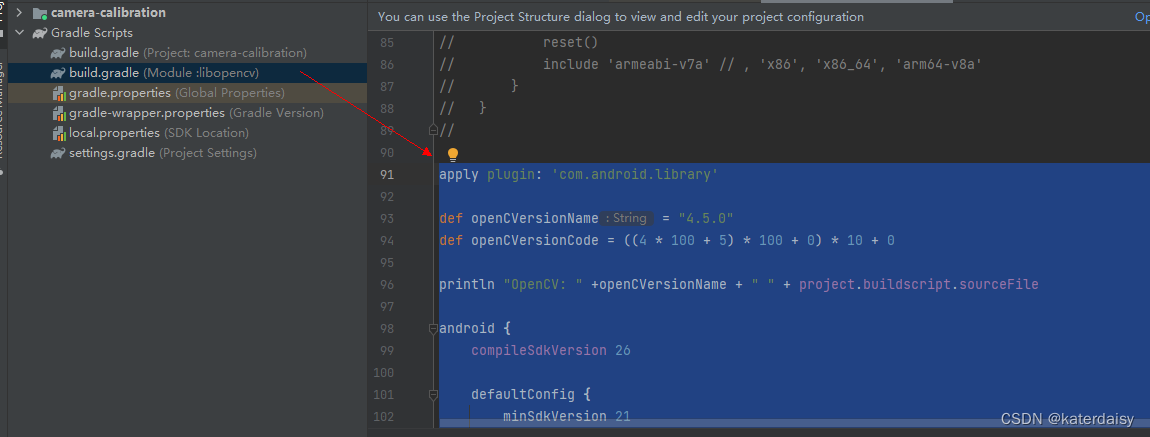
apply plugin: ‘com.android.library’
def openCVersionName = “4.5.0”
def openCVersionCode = ((4 * 100 + 5) * 100 + 0) * 10 + 0
println "OpenCV: " +openCVersionName + " " + project.buildscript.sourceFile
android {
compileSdkVersion 26
defaultConfig {
    minSdkVersion 21
    targetSdkVersion 26

    versionCode openCVersionCode
    versionName openCVersionName

    externalNativeBuild {
        cmake {
            arguments "-DANDROID_STL=c++_shared"
            targets "opencv_jni_shared"
        }
    }
}

buildTypes {
    debug {
        packagingOptions {
            doNotStrip '**/*.so'  // controlled by OpenCV CMake scripts
        }
    }
    release {
        packagingOptions {
            doNotStrip '**/*.so'  // controlled by OpenCV CMake scripts
        }
        minifyEnabled false
        proguardFiles getDefaultProguardFile('proguard-android.txt'), 'proguard-rules.txt'
    }
}
compileOptions {
    sourceCompatibility JavaVersion.VERSION_1_6
    targetCompatibility JavaVersion.VERSION_1_6
}

sourceSets {
    main {
        jniLibs.srcDirs = ['native/libs']
        java.srcDirs = ['java/src']
        aidl.srcDirs = ['java/src']
        res.srcDirs = ['java/res']
        manifest.srcFile 'java/AndroidManifest.xml'
    }
}

externalNativeBuild {
    cmake {
        path (project.projectDir.toString() + '/libcxx_helper/CMakeLists.txt')
    }
}
}
dependencies {
}
下面要添加aliyun的镜像路径,不然会报错误:Android无法正常获取https://dl.google.com/dl/android/maven2/com/…
apply plugin: ‘com.android.application’
android {
compileSdkVersion 26
defaultConfig {
applicationId “org.opencv.samples.cameracalibration”
minSdkVersion 21
targetSdkVersion 26
versionCode 301
versionName “3.01”
}
buildTypes {
release {
minifyEnabled false
proguardFiles getDefaultProguardFile(‘proguard-android.txt’), ‘proguard-rules.pro’
}
}
sourceSets {
main {
java.srcDirs = [‘src’]
aidl.srcDirs = [‘src’]
res.srcDirs = [‘res’]
manifest.srcFile ‘AndroidManifest.xml’
}
}
}
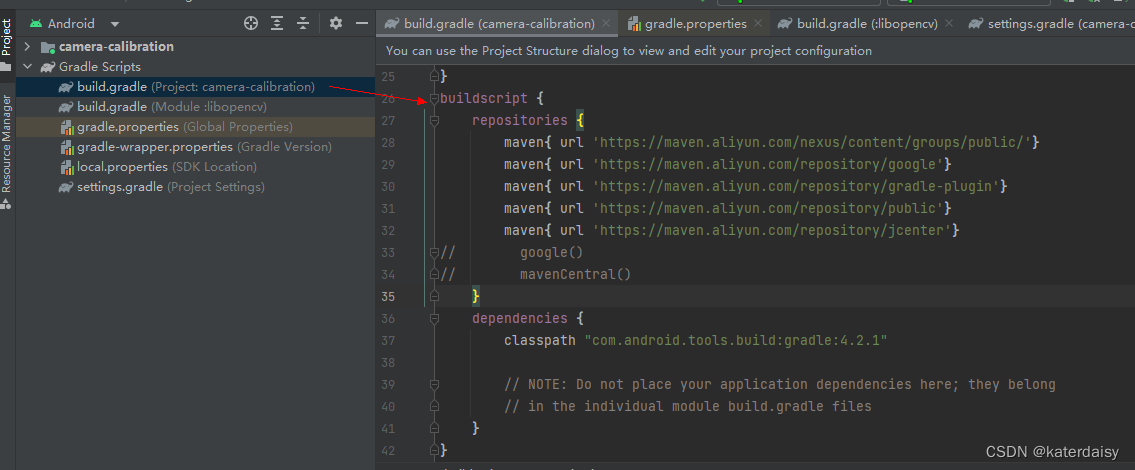
buildscript {
repositories {
maven{ url ‘https://maven.aliyun.com/nexus/content/groups/public/’}
maven{ url ‘https://maven.aliyun.com/repository/google’}
maven{ url ‘https://maven.aliyun.com/repository/gradle-plugin’}
maven{ url ‘https://maven.aliyun.com/repository/public’}
maven{ url ‘https://maven.aliyun.com/repository/jcenter’}
// google()
// mavenCentral()
}
dependencies {
classpath “com.android.tools.build:gradle:4.2.1”
    // NOTE: Do not place your application dependencies here; they belong
    // in the individual module build.gradle files
}
}
allprojects {
repositories {
maven{ url ‘https://maven.aliyun.com/nexus/content/groups/public/’}
maven{ url ‘https://maven.aliyun.com/repository/google’}
maven{ url ‘https://maven.aliyun.com/repository/gradle-plugin’}
maven{ url ‘https://maven.aliyun.com/repository/public’}
maven{ url ‘https://maven.aliyun.com/repository/jcenter’}
// google()
// mavenCentral()
// jcenter() // Warning: this repository is going to shut down soon
}
}
dependencies {
//implementation fileTree(dir: ‘libs’, include: [‘*.jar’])
// implementation project(‘:opencv’)
implementation project(path: ‘:libopencv’)
}
在gradle.properties里面要把之前有按照其他人的方法设置了代理(比如别的大学的),需要把代理删掉。不然会报错误:Could not HEAD 'https://maven.aliyun.com/repository/google/com/android/tools/build/gradle/4.2.1/grad
C://user/**/.gradle/gradle.properties文件中检查有没有VPN代理,有的话注释掉
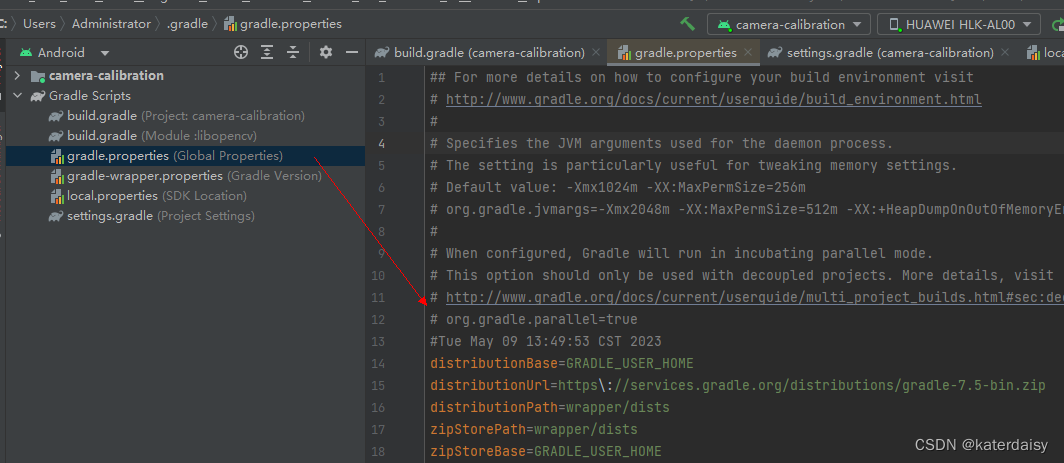
distributionBase=GRADLE_USER_HOME
distributionUrl=https://services.gradle.org/distributions/gradle-7.5-bin.zip
distributionPath=wrapper/dists
zipStorePath=wrapper/dists
zipStoreBase=GRADLE_USER_HOME


站长推荐
- QT多线程的5种用法,通过使用线程解决UI主界面的耗时操作代码,防止界面卡死。
 QT多线程的5种用法,通过使用线程解决UI主界面的耗时操作代码,防止界面卡死。...
 - U8W/U8W-Mini使用与常见问题解决
 U8W/U8W-Mini使用与常见问题解决
 - stm32使用HAL库配置串口中断收发数据(保姆级教程)
 stm32使用HAL库配置串口中断收发数据(保姆级教程)
 - 分享几个国内免费的ChatGPT镜像网址(亲测有效)
 分享几个国内免费的ChatGPT镜像网址(亲测有效)
 - Allegro16.6差分等长设置及走线总结
 Allegro16.6差分等长设置及走线总结