您现在的位置是:首页 >其他 >Vue加SpringBoot实现项目前后端分离网站首页其他
Vue加SpringBoot实现项目前后端分离
简介Vue加SpringBoot实现项目前后端分离
首先需要搭建一个Vue的脚手架项目(已经放在gitee里面了,下面是gitee网址,可以直接拉)
那么接下来就是实现前后端分离的步骤
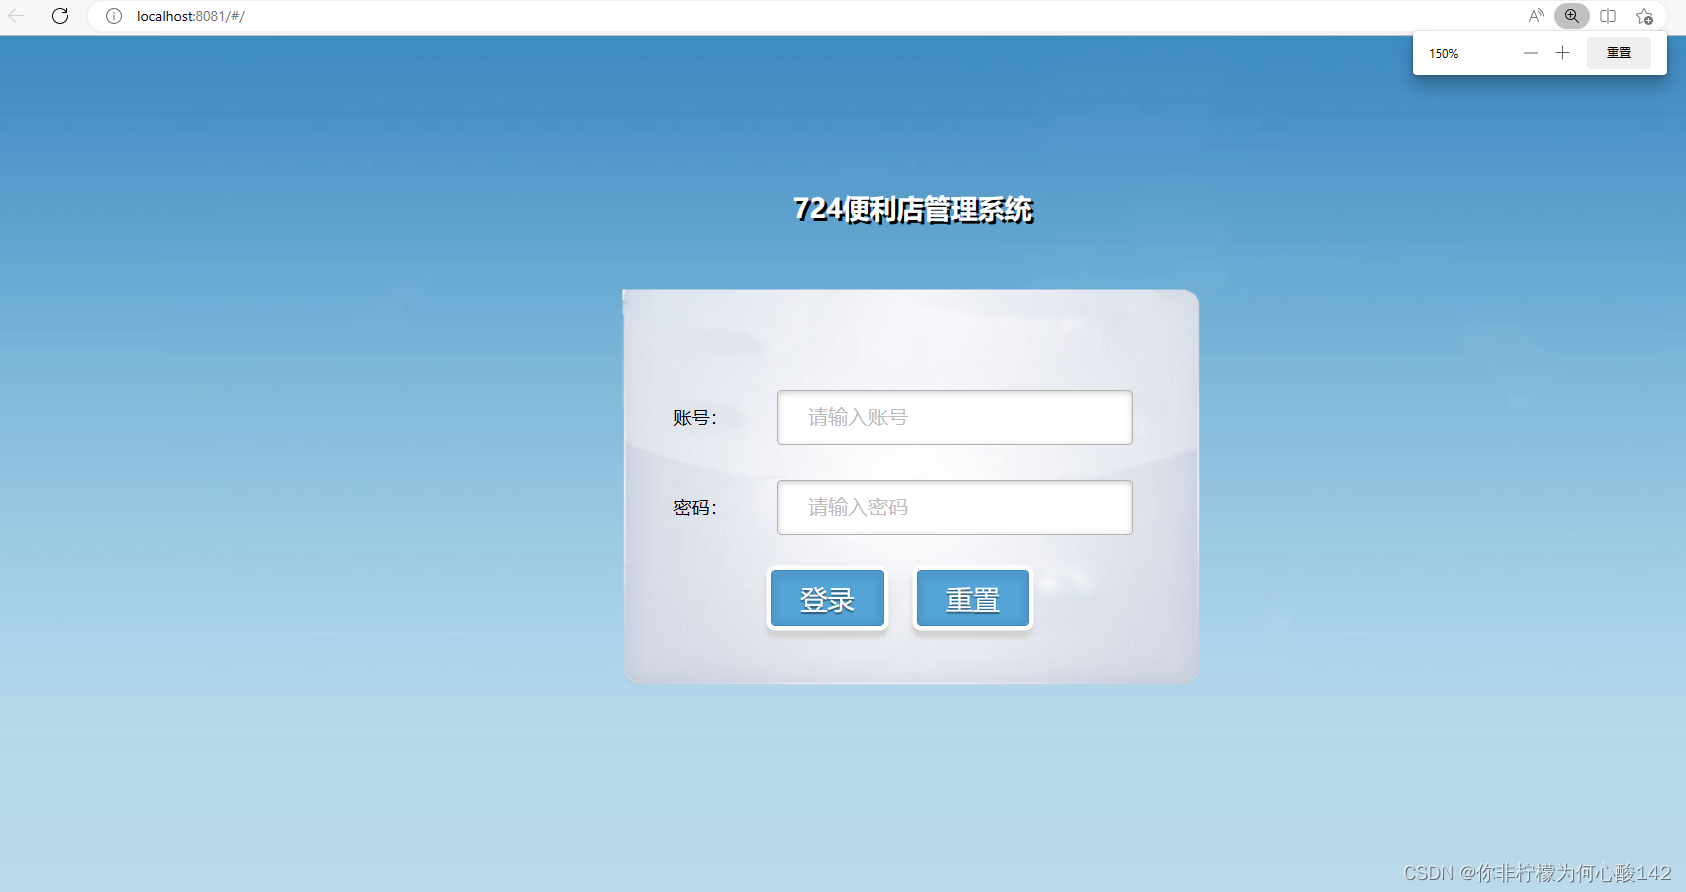
首先我们需要有一个登录页面

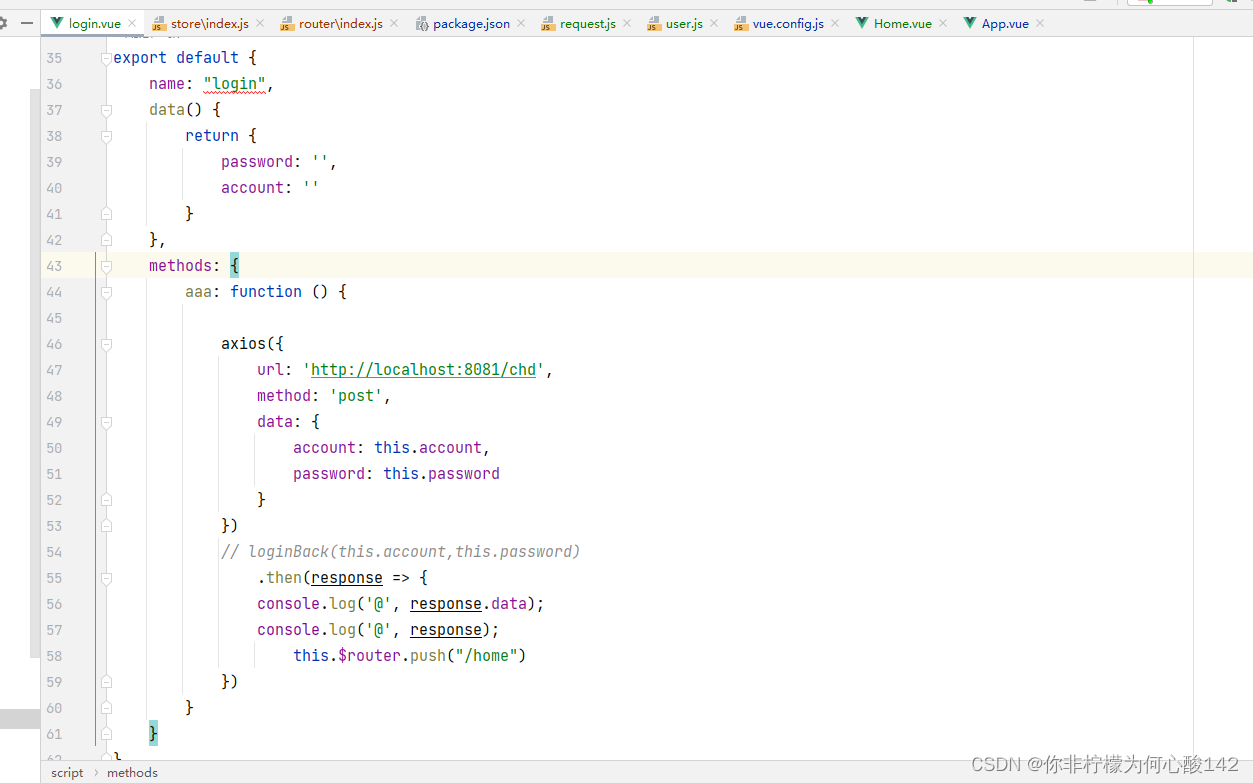
登录的点击事件利用axios提交到后台去,代码放在后面(没有样式也可以直接只居中就行,或者去gitee上面拉项目,已经写好的了)
axios需要在搭建Vue项目的时候添加

<template>
    <div class="login_bg">
        <section class="loginBox">
            <header class="loginHeader">
                <h1>724便利店管理系统</h1>
            </header>
            <section class="loginCont">
                <form class="loginForm" name="actionForm" id="actionForm"  method="post" >
                    <div class="inputbox">
                        <label for="username">账号:</label>
                        <input type="text" v-model="account" class="input-text" id="username" name="username" placeholder="请输入账号" required/>
                    </div>
                    <div class="inputbox">
                        <label for="password">密码:</label>
                        <input type="password" v-model="password" id="password" name="password" placeholder="请输入密码" required/>
                    </div>
                    <div class="subBtn">
                        <input type="button" value="登录" @click="aaa()"/>
                        <input type="reset" value="重置"/>
                    </div>
                </form>
            </section>
        </section>
    </div>
</template>

<script>

//
import axios from "axios";

//
// import {loginBack} from "@/api/user";

export default {
    name: "login",
    data() {
        return {
            password: '',
            account: ''
        }
    },
    methods: {
        aaa: function () {

            axios({
                url: 'http://localhost:8081/chd',
                method: 'post',
                data: {
                    account: this.account,
                    password: this.password
                }
            })
            // loginBack(this.account,this.password)
                .then(response => {
                console.log('@', response.data);
                console.log('@', response);
                    this.$router.push("/home")
            })
        }
    }
}
</script>

<style scoped>
.login_bg{
    height: 1000px;
}
</style>
接下来要注意了,axios请求的地址一定要和Springboot项目的地址一致,并且Springboot项目要启动不能关。
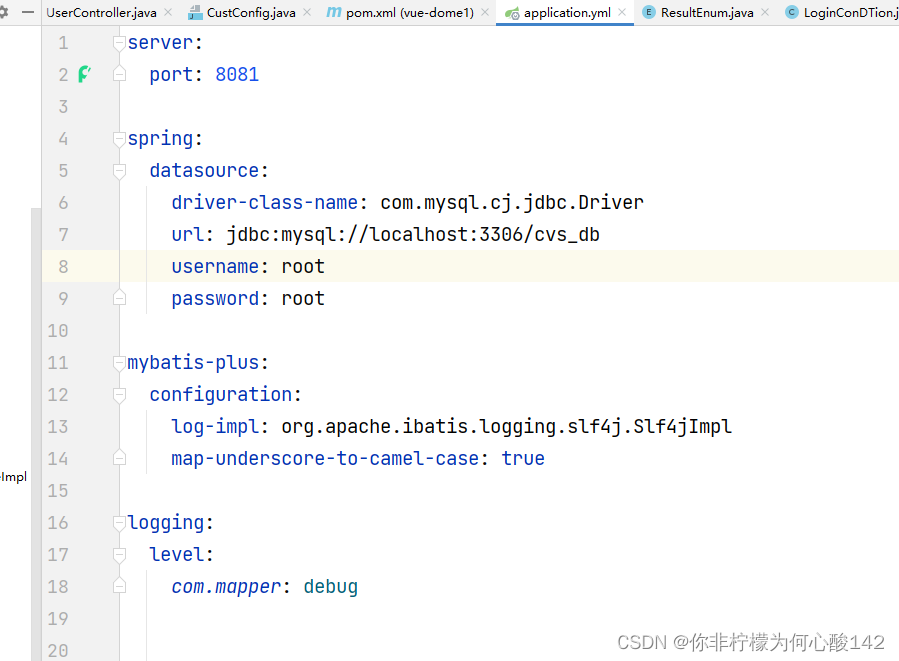
springboot项目的端口要和axios请求的端口一致,可以通过yml设置

接下来就是controller层(这里需要一定的基础才能了解这些注解的作用,这里就不一一赘述了)
请求路径一定要和前端发送的路径一致,一定要一致,可以先测试后端路径再放到前端里面去

@CrossOrigin注解是为了解决跨域问题。一定要加上。
@RestController
public class UserController {

    @Autowired
    TSysUserServiceImpl service;

    @CrossOrigin
    //解决跨域问题
    @PostMapping(value = "/chd")
    public TSysUser login(@RequestBody LoginConDTion loginConDTion){
        TSysUser pwd =service.selectUserAccount(loginConDTion.getAccount());
        System.out.println(pwd);
        return pwd;
    }


}
到这里就可以实现前后端分离了,前端用webstorm写Vue项目,后端用idea写SpringBoot项目,真正的前后端分离,考路径拿数据。
希望能帮到各位小伙伴
风语者!平时喜欢研究各种技术,目前在从事后端开发工作,热爱生活、热爱工作。


 U8W/U8W-Mini使用与常见问题解决
 QT多线程的5种用法,通过使用线程解决UI主界面的耗时操作代码,防止界面卡死。...
 stm32使用HAL库配置串口中断收发数据(保姆级教程)
 分享几个国内免费的ChatGPT镜像网址(亲测有效)
 Allegro16.6差分等长设置及走线总结