您现在的位置是:首页 >技术教程 >k8s上部署Alluxio:v2.9.1经验总结网站首页技术教程
k8s上部署Alluxio:v2.9.1经验总结
1.采用helm安装
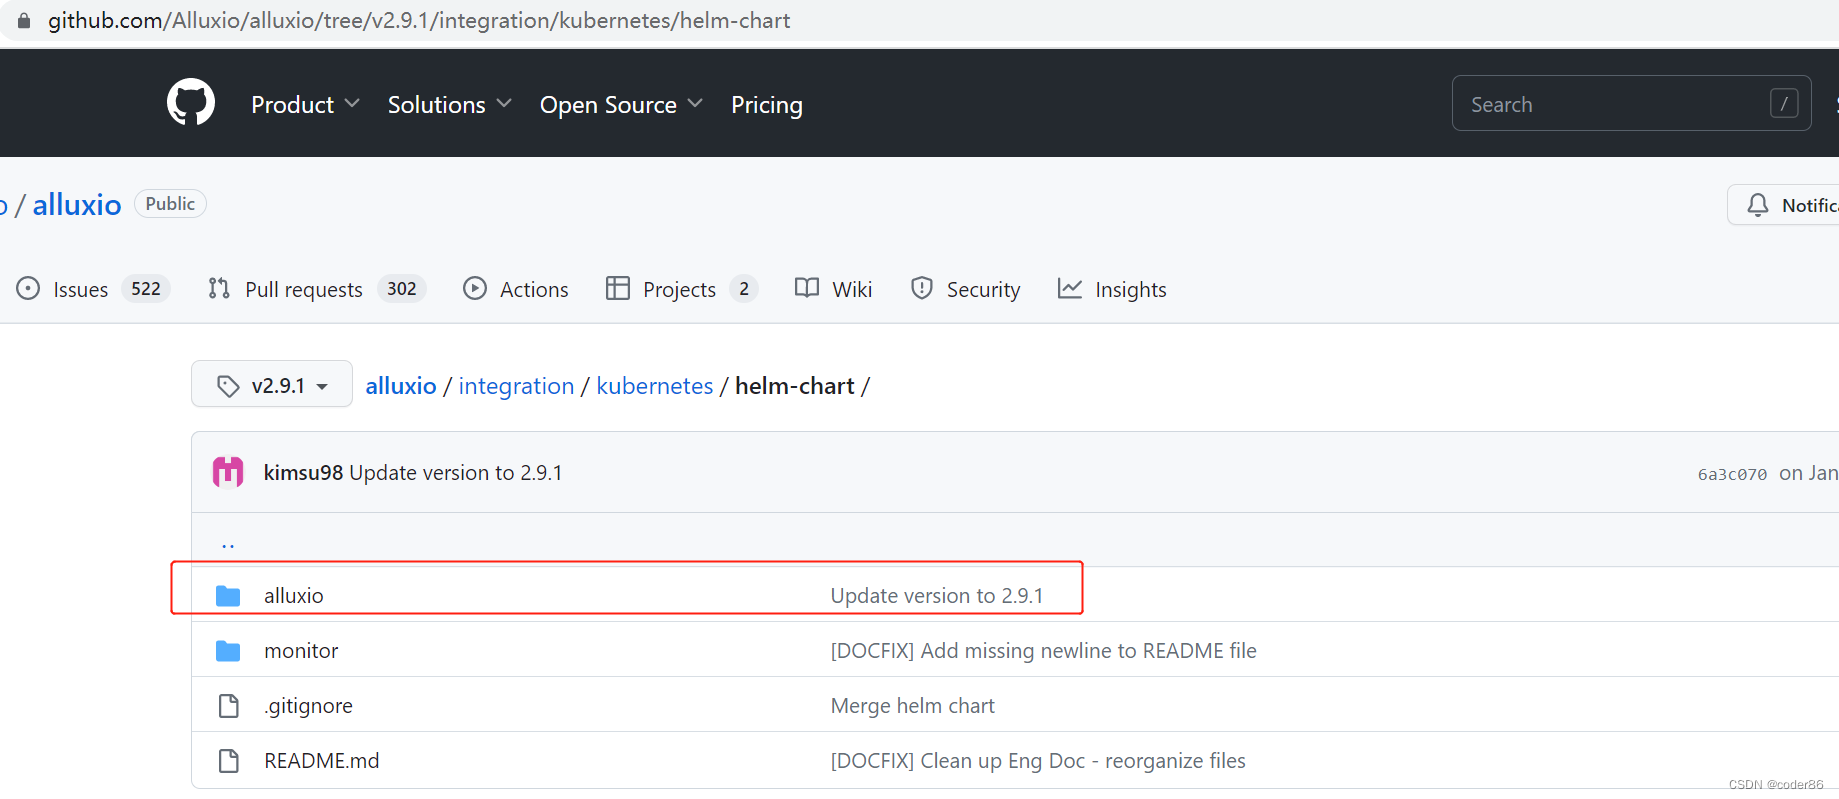
配置文件下载地址
https://github.com/Alluxio/alluxio/tree/v2.9.1直接将如下图所示的文件传到K8s集群的master节点

values.yaml为alluxio的配置文件,在里面可以配置一些属性,如挂载点、文件读写的一些配置、worker存储介质的配置(内存、SSD等)、元数据存储的路径。
2.部分配置项详解
Master
#元数据存储采用RocksDB
alluxio.master.metastore=ROCKS
alluxio.master.metastore.dir=/data/metastore
#堆内存缓存的Hot MetaData
alluxio.master.metastore.inode.cache.max.size=20000000
Worker
alluxio.worker.tieredstore.level0.alias=SSD
alluxio.worker.tieredstore.level0.dirs.mediumtype=SSD
alluxio.worker.tieredstore.level0.dirs.path=/data/alluxio-ssd
alluxio.worker.tieredstore.level0.dirs.quota=2.5Ti
alluxio.worker.tieredstore.level0.watermark.high.ratio=0.95
alluxio.worker.tieredstore.level0.watermark.low.ratio=0.7
#副本拷贝功能关闭
alluxio.user.file.passive.cache.enabled=false
#关闭 更新文件的最近访问时间
alluxio.user.update.file.accesstime.disabled=true
#worker开启短路读取
alluxio.worker.data.server.domain.socket.address=/alluxio-data/alluxio-fuse
alluxio.worker.data.server.domain.socket.as.uuid=true
#预热数据的线程数配置,默认10
alluxio.job.worker.threadpool.size=64
Fuse
alluxio.user.metadata.cache.enabled=true
alluxio.user.metadata.cache.max.size=4000000
alluxio.user.metadata.cache.expiration.time=12h
3.执行命令安装
helm install alluxio -n your-project -f values.yaml .其中your-project表示将alluxio部署在哪个命名空间下
注:values.yaml有引用三处镜像,可以先把镜像下载到你本地,然后再推送到公司的私有镜像仓库harbor中(因人而异,能正常引用到镜像即可)
4.验证安装成功
在Kubesphere中,进入到alluxio-master容器
执行命令 ./bin/alluxio runTests,控制台输出’Passed the test!’ 验证部署成功

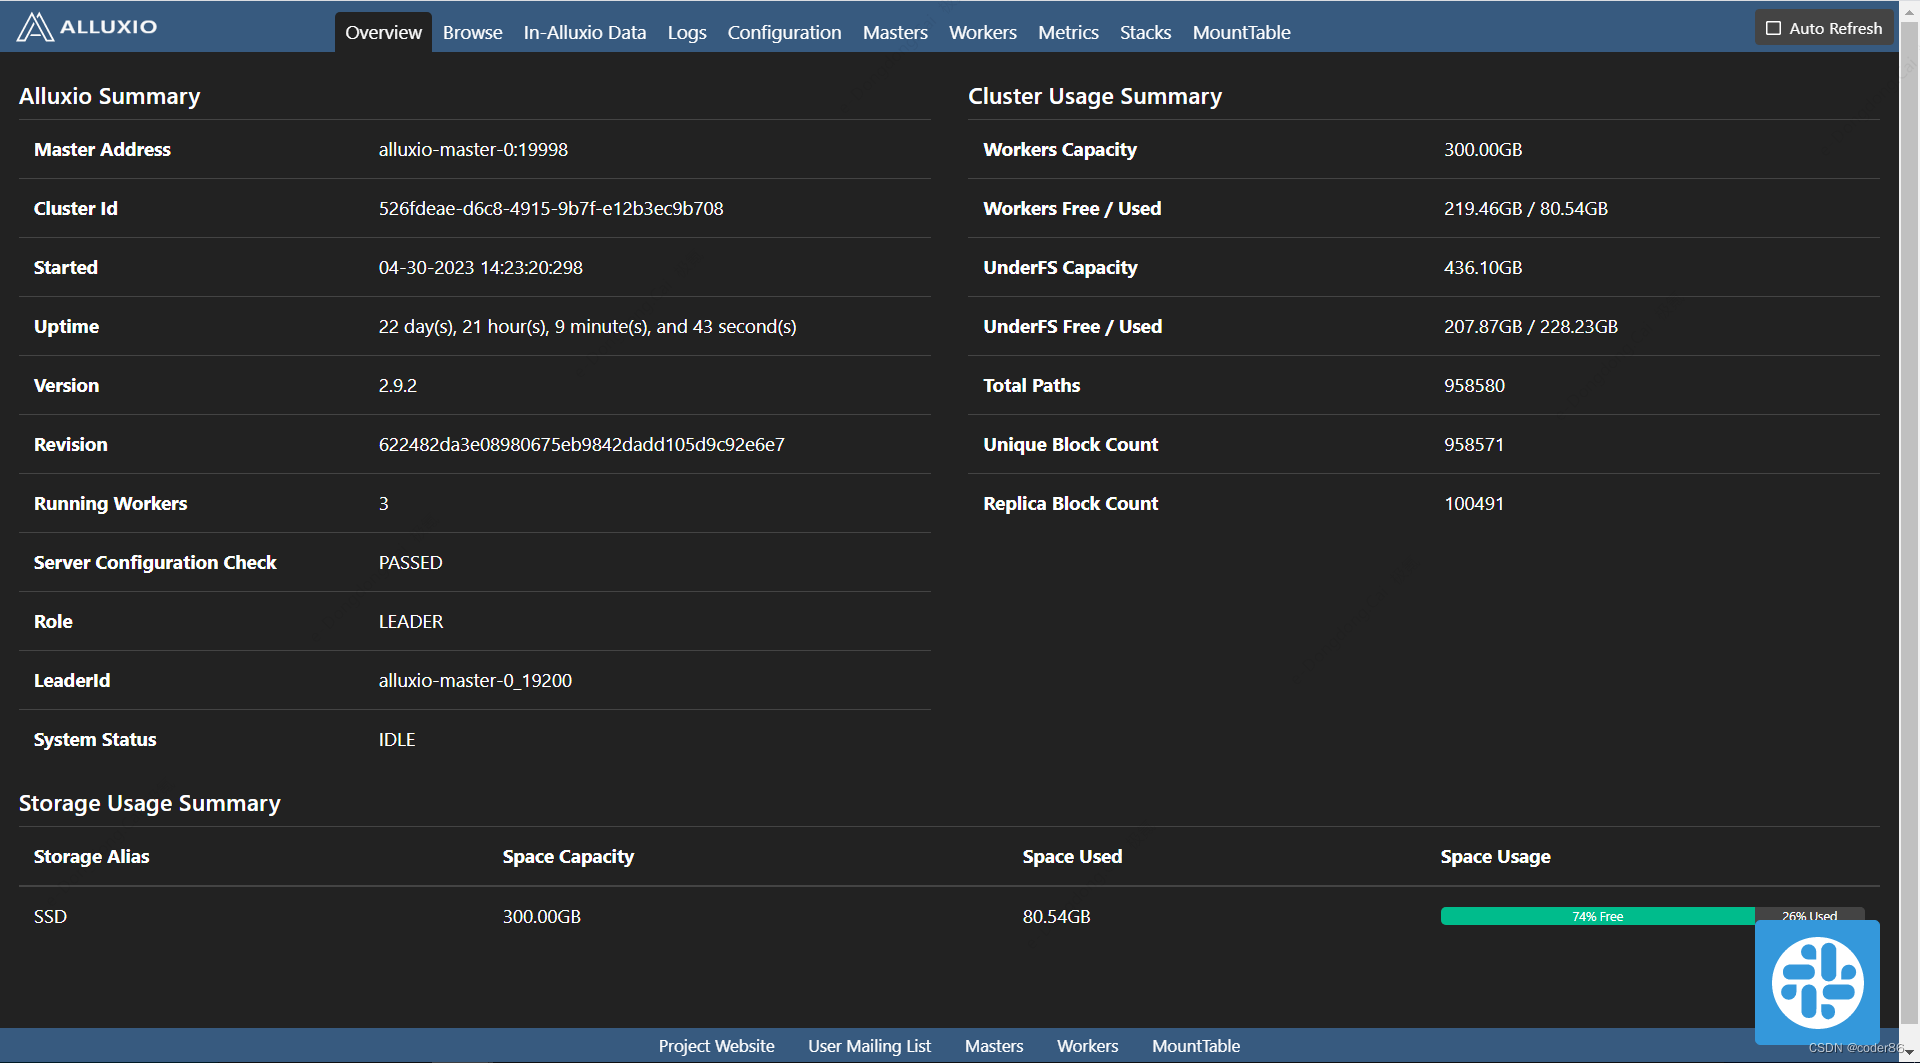
同时alluxio提供可视化界面 用于查看各项指标


 U8W/U8W-Mini使用与常见问题解决
 QT多线程的5种用法,通过使用线程解决UI主界面的耗时操作代码,防止界面卡死。...
 stm32使用HAL库配置串口中断收发数据(保姆级教程)
 分享几个国内免费的ChatGPT镜像网址(亲测有效)
 Allegro16.6差分等长设置及走线总结