您现在的位置是:首页 >技术交流 >ChatGPT教程 基于Springboot+Spring+MybatisPlus实现gpt3.5接口开发网站首页技术交流
ChatGPT教程 基于Springboot+Spring+MybatisPlus实现gpt3.5接口开发
简介ChatGPT教程 基于Springboot+Spring+MybatisPlus实现gpt3.5接口开发
⛪ ChatGPT教程: 基于Springboot+Spring+MybatisPlus实现gpt3.5接口开发
? 文章介绍: 本文基于SpringBoot+Spring+MybatisPlus实现一个响应快速的gpt接口,可通过与前端整合开发对应的前端页面
? 源码获取: 项目中的资料可以通过文章底部小卡片获取
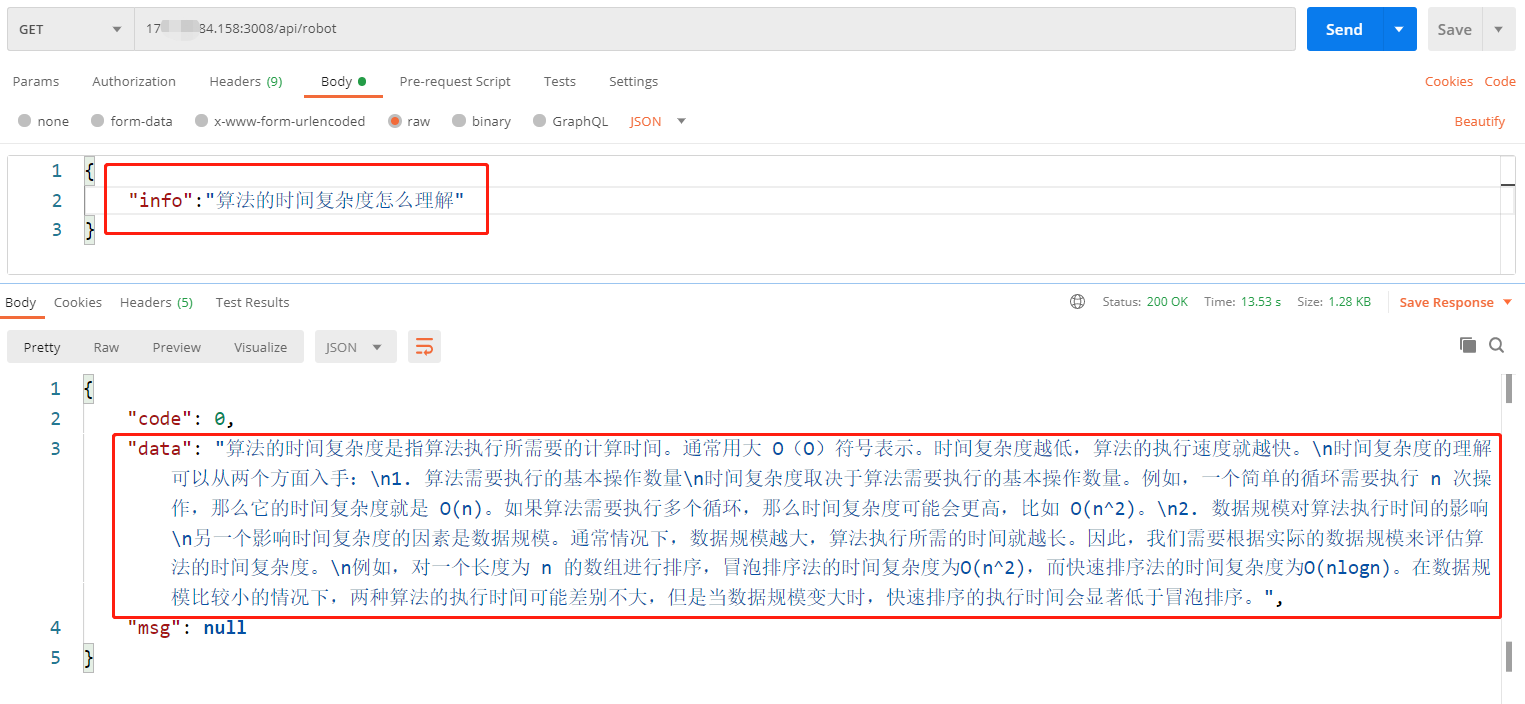
最终效果演示


GPT接口介绍
GPT-3 的 API 接口可以用于许多应用,例如基于自然语言处理的智能问答、机器翻译、文本摘要、文本自动生成、语言模型微调等等。根据 OpenAI 官网的介绍,GPT-3 API 提供了多种可定制的 API 接口,其中包括:
文本生成(Text Completion)API:输入前缀文本,自动生成补全文本。
文本生成(Text Generation)API:输入主题或关键词,自动生成相关的文章或段落。
问答(Question Answering)API:输入问题,自动生成回答。
自然语言交互(Conversational AI)API:模拟人类对话,回答用户的自然语言问题。
文本摘要(Text Summarization)API:输入长篇文章,自动生成简洁精炼的摘要。
机器翻译(Translation)API:将一种语言的文本翻译成另外一种语言。
语言模型微调(Language Model Fine-tuning)API:将预先训练好的语言模型进一步优化以适应特定领域应用,如情感分析、信息提取等。
代码演示
相关依赖
<dependency>
            <groupId>org.springframework.boot</groupId>
            <artifactId>spring-boot-starter-web</artifactId>
        </dependency>
        <dependency>
            <groupId>org.springframework.boot</groupId>
            <artifactId>spring-boot-starter-test</artifactId>
        </dependency>

        <dependency>
            <groupId>org.projectlombok</groupId>
            <artifactId>lombok</artifactId>
        </dependency>

        <!-- https://mvnrepository.com/artifact/org.apache.httpcomponents.client5/httpclient5 -->
        <dependency>
            <groupId>org.apache.httpcomponents.client5</groupId>
            <artifactId>httpclient5</artifactId>
            <version>5.2.1</version>
        </dependency>
实体类与实现类封装
@RestController
@RequestMapping("/api")
public class ChatController {

    @Autowired
    private HttpGptService httpGpt;
    @PostMapping("robot")
    public JsonData getMessage(@RequestBody GptInfo gptInfo) throws IOException {
        String msg = httpGpt.getMsg(gptInfo.getInfo());
        System.out.println(msg);
        System.out.println(gptInfo.getInfo());
        return JsonData.buildSuccess(msg);
    }
}

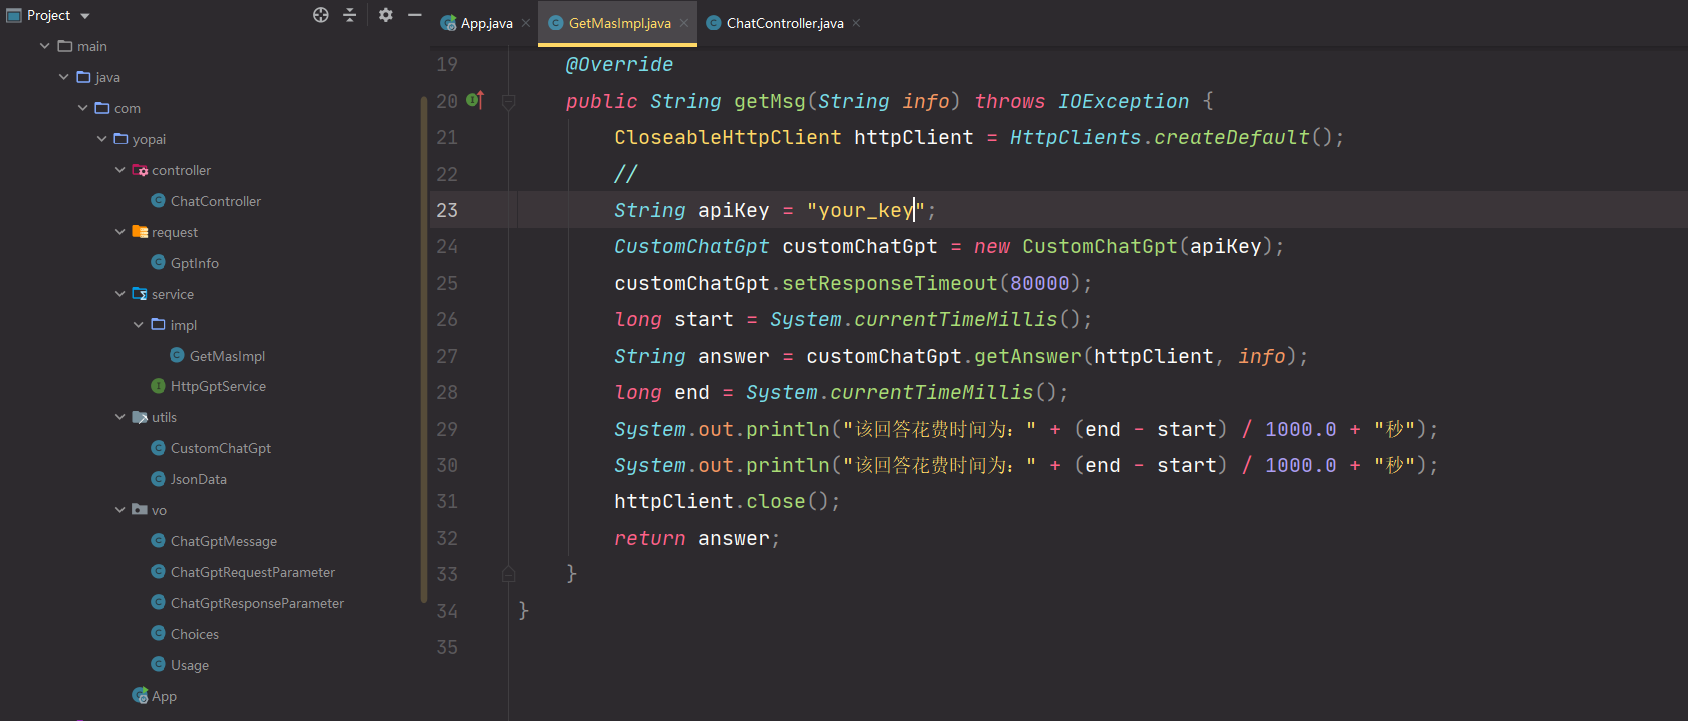
@Service
public class GetMasImpl implements HttpGptService {
    @Override
    public String getMsg(String info) throws IOException {
        CloseableHttpClient httpClient = HttpClients.createDefault();
        //
        String apiKey = "your_key";
        CustomChatGpt customChatGpt = new CustomChatGpt(apiKey);
        customChatGpt.setResponseTimeout(80000);
        long start = System.currentTimeMillis();
        String answer = customChatGpt.getAnswer(httpClient, info);
        long end = System.currentTimeMillis();
        System.out.println("该回答花费时间为:" + (end - start) / 1000.0 + "秒");
        System.out.println("该回答花费时间为:" + (end - start) / 1000.0 + "秒");
        httpClient.close();
        return answer;
    }
}
接口相关说明
- 接口输入: 输入JSON字段,INFO
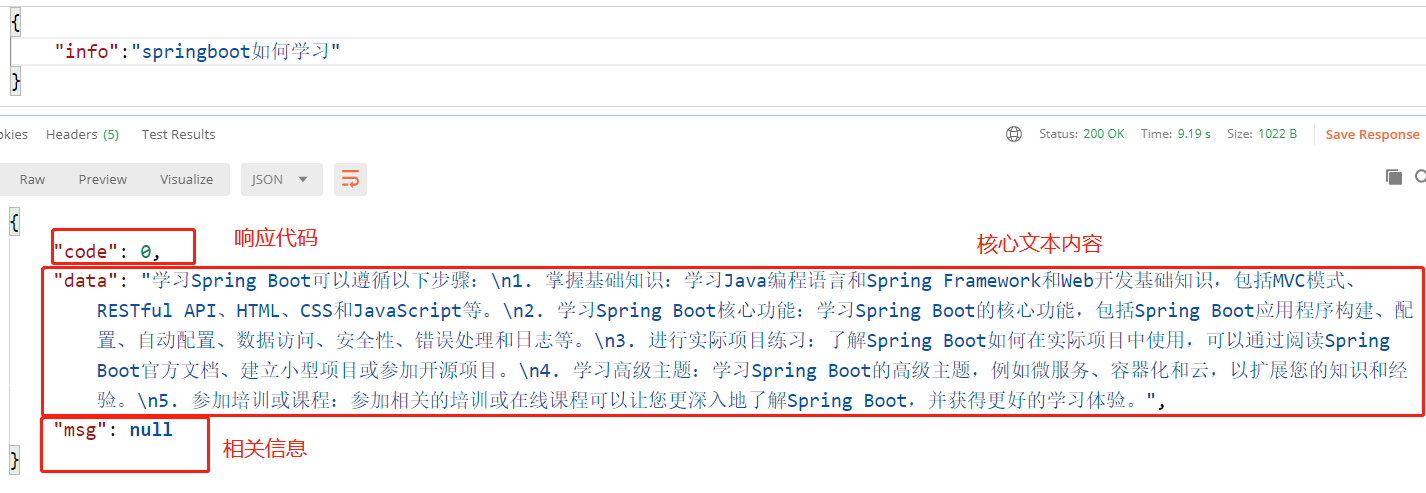
- 接口返回: 返回如下三个字段
- 注意:如果需要部署上线则需要使用代理,或者魔法方法

内容获取
- 代码较多不便一一贴出来,感兴趣的小伙伴可以直接 + yopa66
风语者!平时喜欢研究各种技术,目前在从事后端开发工作,热爱生活、热爱工作。


 U8W/U8W-Mini使用与常见问题解决
 QT多线程的5种用法,通过使用线程解决UI主界面的耗时操作代码,防止界面卡死。...
 stm32使用HAL库配置串口中断收发数据(保姆级教程)
 分享几个国内免费的ChatGPT镜像网址(亲测有效)
 Allegro16.6差分等长设置及走线总结